Filming the behind-the-scenes process of testing and perfecting recipes is a fantastic way to engage your audience. Not only does it add authenticity, but it also allows your viewers to connect with the effort and creativity that goes into your work. Here’s a step-by-step tutorial on how to film your recipe-testing process effectively and share it with your audience.
1. Plan Your Filming Strategy
Before you start rolling the camera, it’s essential to plan:
- Outline Key Steps: Break down the recipe into stages you want to capture. Highlight moments like ingredient prep, troubleshooting, and tasting.
- Set Goals: Decide what you want to communicate—is it the science behind the recipe, your creative thought process, or the fun of experimenting?
- Prepare a Script or Notes: While it’s important to stay authentic, having a basic script or bullet points can keep your filming organized.
2. Set Up Your Filming Environment
Create a visually appealing and functional setup:
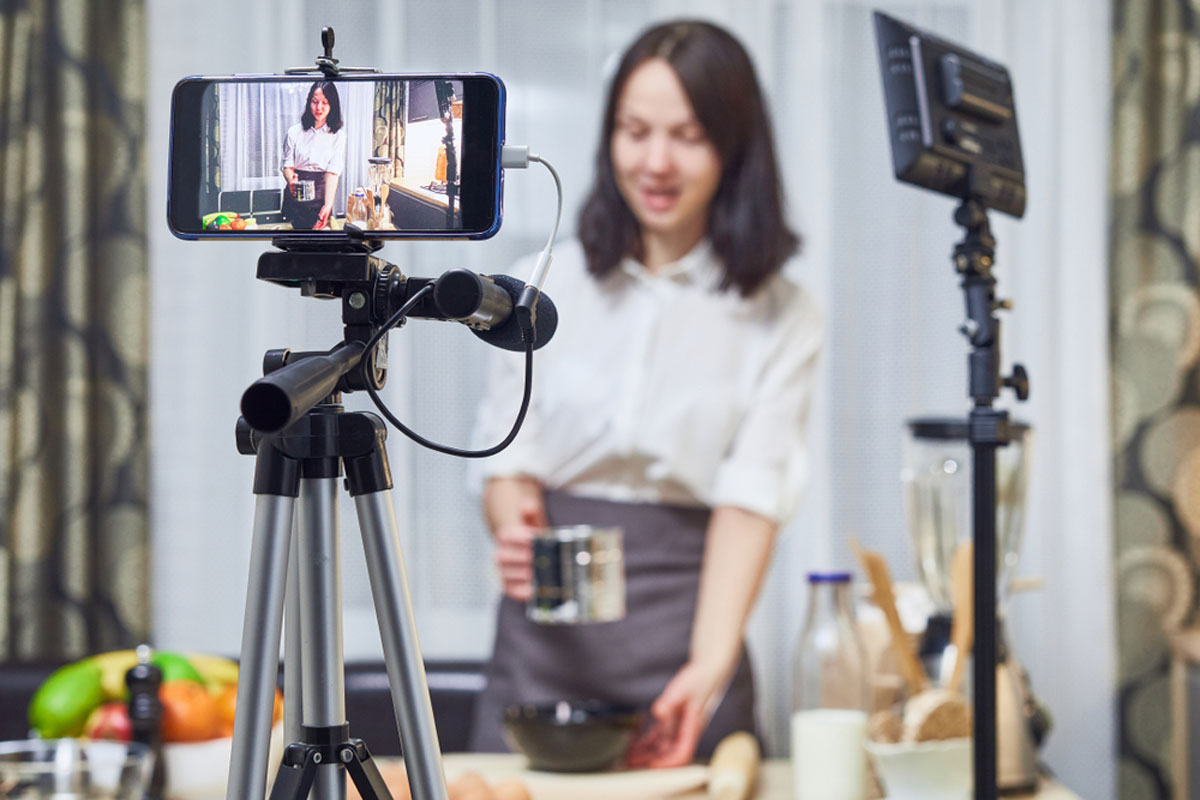
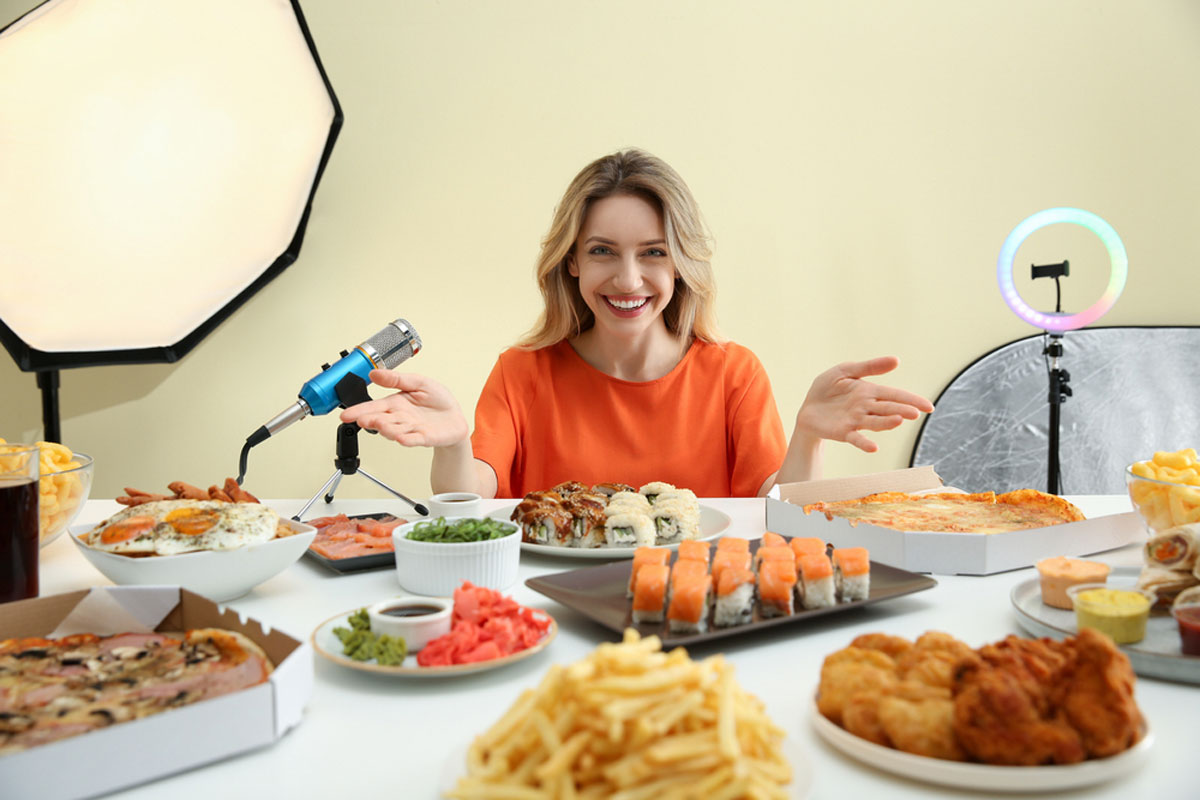
- Lighting: Use natural light or invest in softbox lights to ensure your workspace is well-lit.
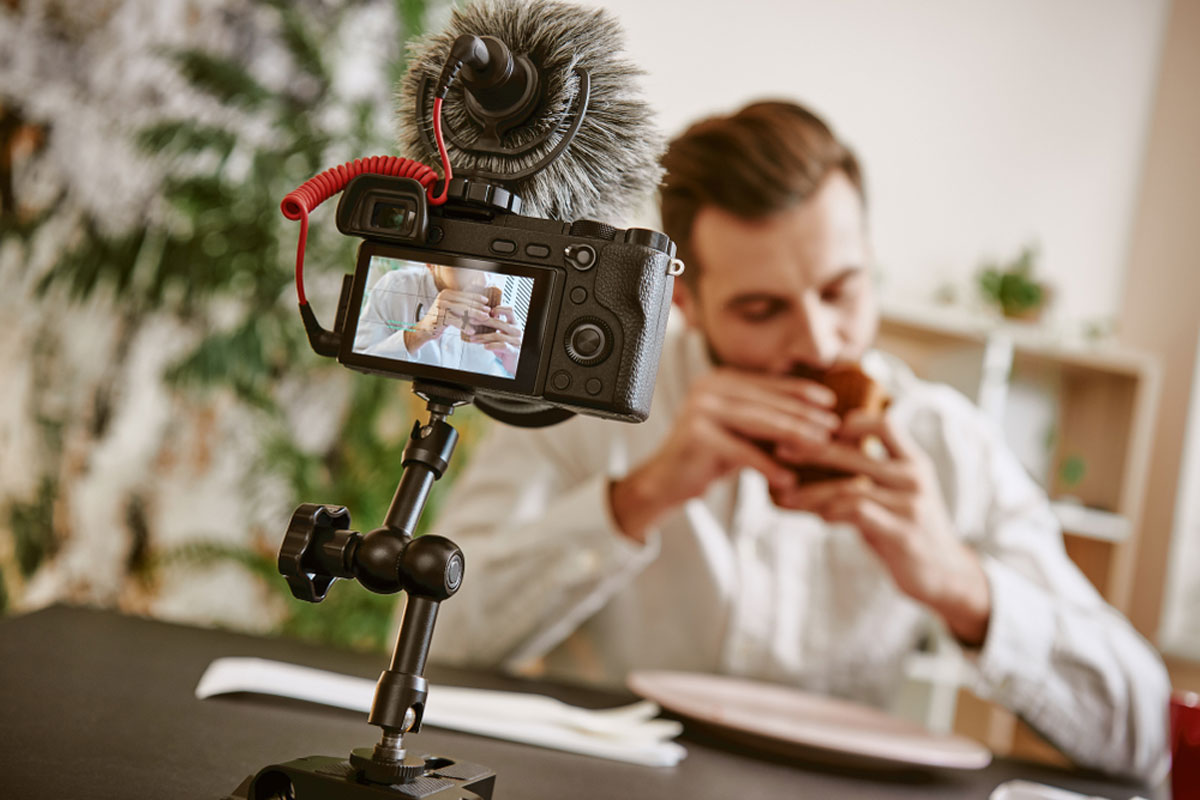
- Camera Placement: Position your camera to capture multiple angles, such as overhead shots, close-ups, and side views. Use tripods or camera mounts for stability.
- Declutter: Keep your workspace clean but natural. A lived-in kitchen adds charm but should not look messy.
- Sound: Use an external microphone to capture clear audio. Reduce background noise as much as possible.
3. Show the Full Testing Process
Your audience will appreciate seeing your genuine journey. Include these elements:
Ingredient Selection
- Film yourself choosing ingredients and explain why each is important.
- If you’re experimenting with alternatives, highlight them.
Preparation and Mistakes
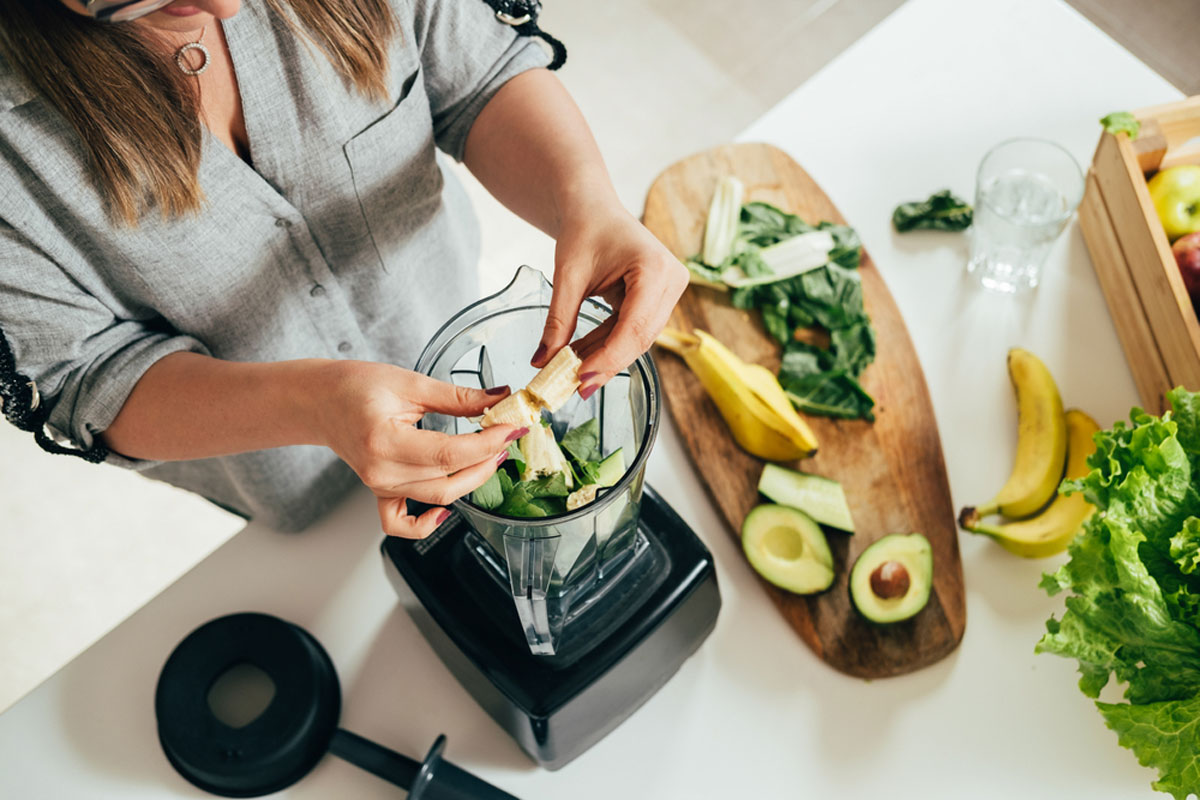
- Show the prep work, including chopping, measuring, and mixing.
- Don’t be afraid to share your mistakes. If a batch doesn’t turn out as expected, explain what happened and how you’ll adjust.
Experimentation
- Capture moments of trial and error, such as tweaking ingredient ratios or testing different cooking methods.
- Share your thought process behind the changes.
Tasting and Feedback
- Show yourself tasting the recipe. Be honest about the results.
- If possible, involve friends, family, or colleagues to provide additional feedback on-camera.
4. Add Engaging Commentary
Narrate your thought process as you go:
- Be Relatable: Share anecdotes or fun facts about the recipe.
- Teach as You Film: Explain cooking techniques, ingredient choices, or scientific principles.
- Highlight Challenges: Discuss obstacles you encounter and how you plan to overcome them.
5. Edit for Impact
Post-production is key to creating engaging content:
- Trim for Clarity: Remove unnecessary footage to keep the video concise.
- Use Captions: Add subtitles or text overlays for key points.
- Incorporate Music: Use background music that matches your video’s tone.
- Add Tips: Include pop-up tips or notes summarizing lessons learned.
- Time-Lapse: Speed up repetitive actions, like kneading dough, to maintain viewer interest.
6. Engage Your Audience
Encourage interaction by involving your viewers:
- Ask for Input: Invite your audience to suggest variations or ideas.
- Polls and Questions: Use social media to ask followers about their preferences or cooking struggles.
- Share Failures: Post bloopers or funny moments to connect on a personal level.
- Behind-the-Scenes Content: Share additional snippets on platforms like Instagram Stories or TikTok.
7. Tools and Equipment for Success
Invest in tools that can elevate your production quality:
- Cameras: A DSLR, mirrorless camera, or even a high-quality smartphone.
- Tripod and Stabilizers: Keep your shots steady.
- Lighting Kits: Ensure consistent brightness.
- Microphones: Capture clear audio for your commentary.
- Editing Software: Programs like Adobe Premiere Pro, Final Cut Pro, or iMovie can help polish your video.
8. Publish and Promote
Once your video is ready, share it strategically:
- Platform Selection: Post the full video on YouTube, and share clips or highlights on Instagram, TikTok, and Facebook.
- Optimize Titles and Descriptions: Use engaging titles and detailed descriptions to improve discoverability.
- Engage in Comments: Respond to questions and feedback to build a loyal community.
Final Thoughts
Sharing your recipe-testing process on camera allows your audience to see the hard work and creativity behind every recipe. By being transparent, engaging, and authentic, you’ll not only build trust but also inspire viewers to experiment in their own kitchens. With these tips, you’re ready to start filming and sharing your culinary journey!

