Shooting high-quality cooking videos using only a smartphone is easier than ever. With a few key techniques and thoughtful setup, you can create polished, professional content that’s visually engaging. Here’s how to maximize the power of your smartphone for filming cooking videos.
1. Select the Best Smartphone for Filming
Most newer smartphones have high-resolution cameras, ideal for video creation. If you’re choosing a phone for filming, consider one with:
- High-Resolution Video (1080p or 4K): For crisp visuals that look professional on any screen.
- Good Low-Light Performance: For clear shots even when lighting isn’t ideal.
- Stabilization Feature: To help reduce shakiness for smooth footage.
2. Set Up Your Filming Space
Cooking videos need good lighting and a clutter-free background. Here’s how to set up for the best shot:
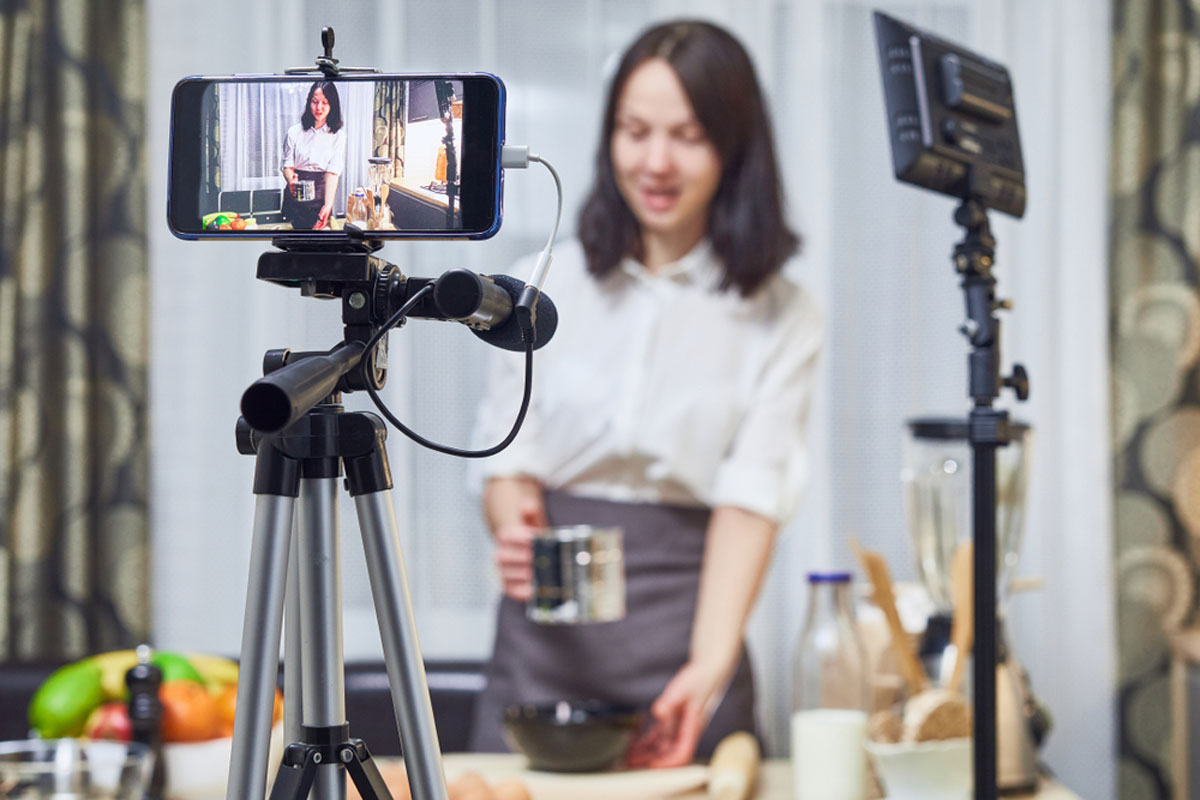
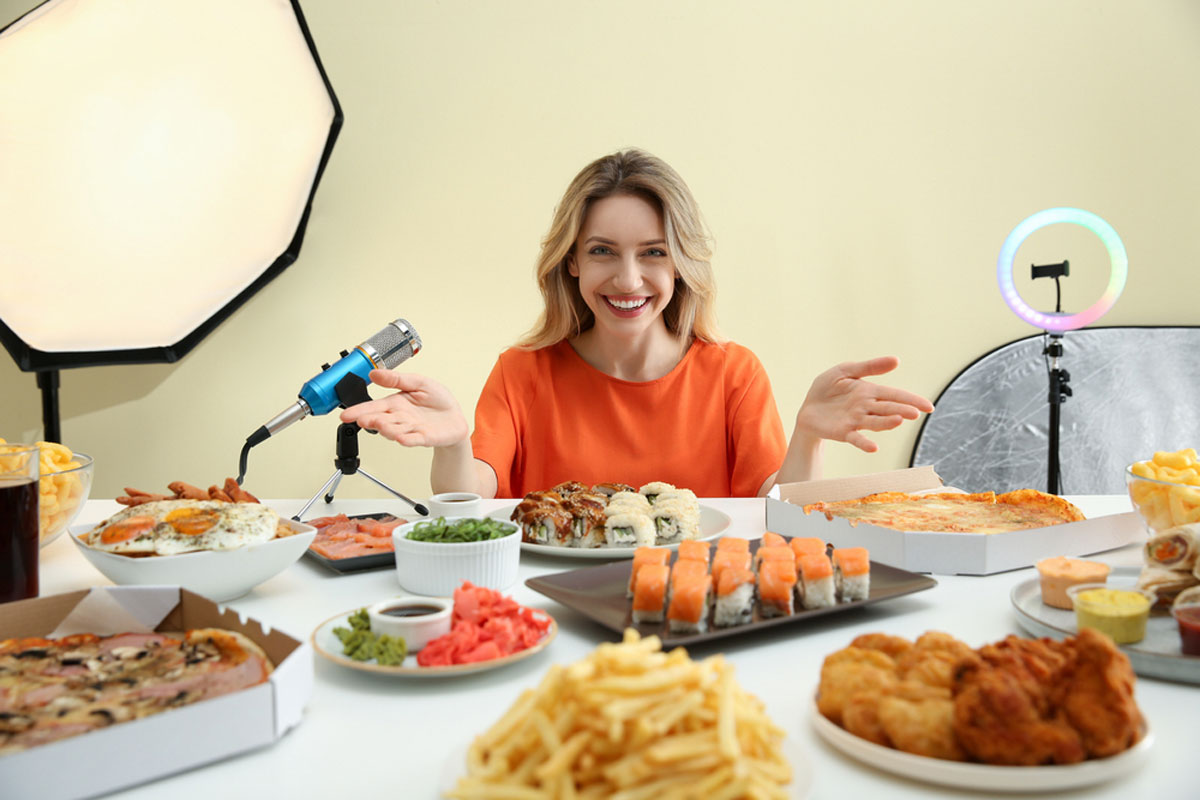
- Natural Light: Position your workspace near a window to capture natural, soft light. If you don’t have a good light source, consider an LED ring light or softbox.
- Clear and Simple Background: Avoid distracting backgrounds. A clean countertop or a minimalist kitchen space lets the food and process shine.
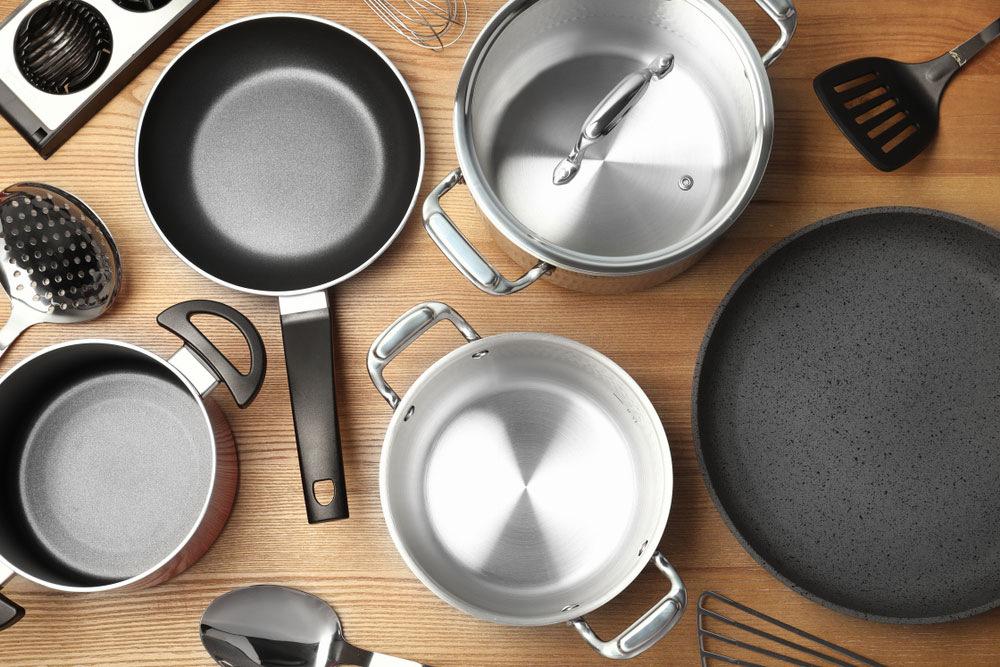
- Keep Props Minimal and Relevant: Use utensils, ingredients, and cookware that add to the scene without overcrowding.
3. Stabilize Your Phone
Avoid shaky footage by keeping your smartphone steady. Here’s how:
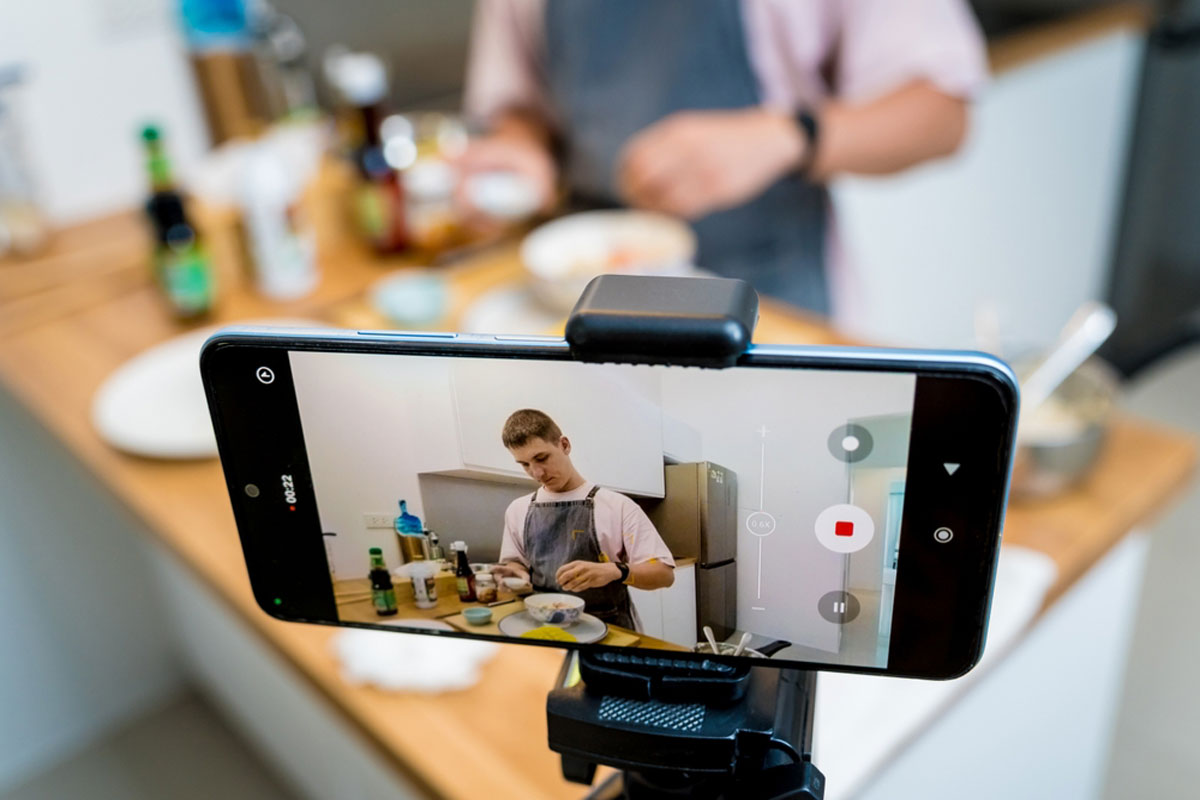
- Tripod with Smartphone Mount: A tripod stabilizes your phone, allowing for steady overhead shots and easy hands-free filming. Look for one with an adjustable mount to switch between horizontal and vertical filming.
- Phone Gimbal: A gimbal helps with smooth movement for close-up or transition shots. They’re great for adding a dynamic feel, especially if you’re moving around the kitchen.
- DIY Hacks: If you’re in a pinch, create a steady base by leaning your phone against a stack of cookbooks or other stable objects.
4. Perfect the Camera Settings
Most phones have manual settings for adjusting quality. Here’s how to optimize them:
- Resolution and Frame Rate: Use 4K if your phone supports it, or 1080p as a default. A frame rate of 30 fps (frames per second) is great for a smooth, natural look.
- Exposure: Tap on your phone screen to focus and adjust the exposure, ensuring the scene is well-lit without overexposure.
- Focus Lock: Avoid blurring by locking the focus on key elements (e.g., food prep or plating) to keep them crisp.
5. Master Basic Filming Techniques
Showcase your cooking process with varied shots and creative angles. Here are some filming tips:
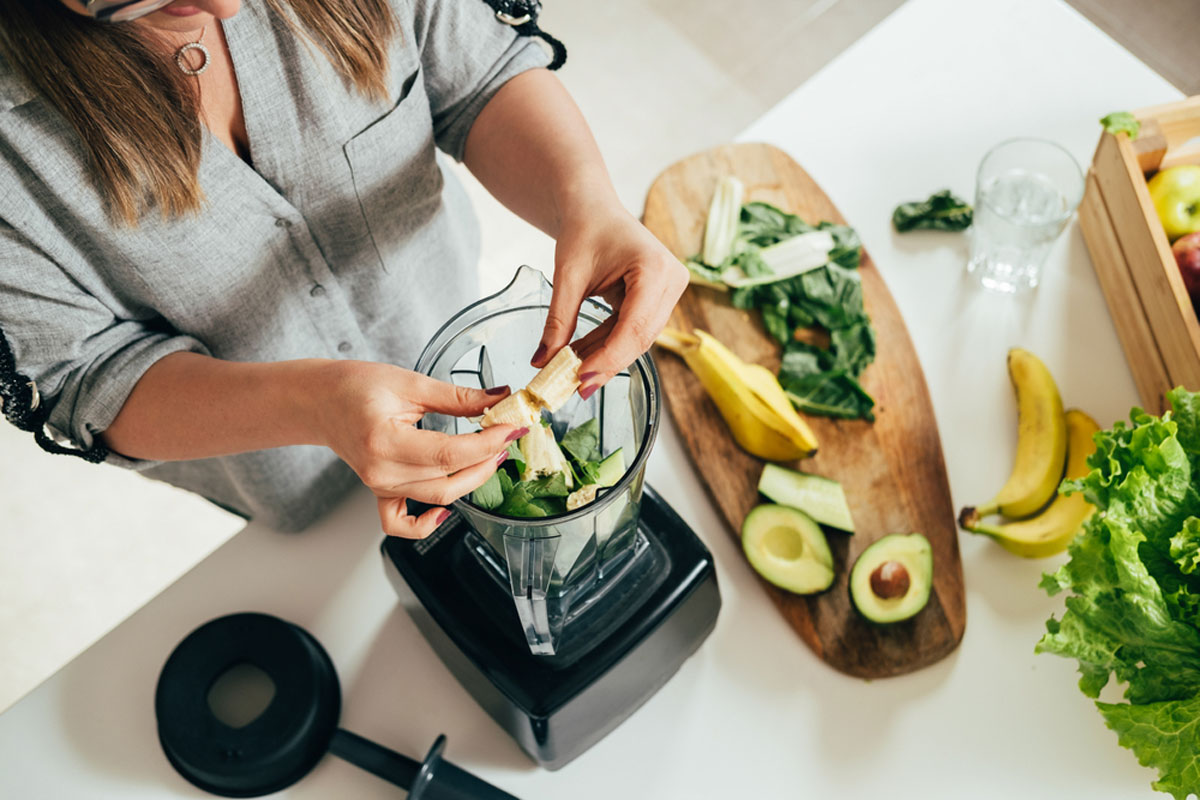
- Overhead Shots: Perfect for capturing entire processes, like chopping or mixing, and giving viewers a full view of your workspace.
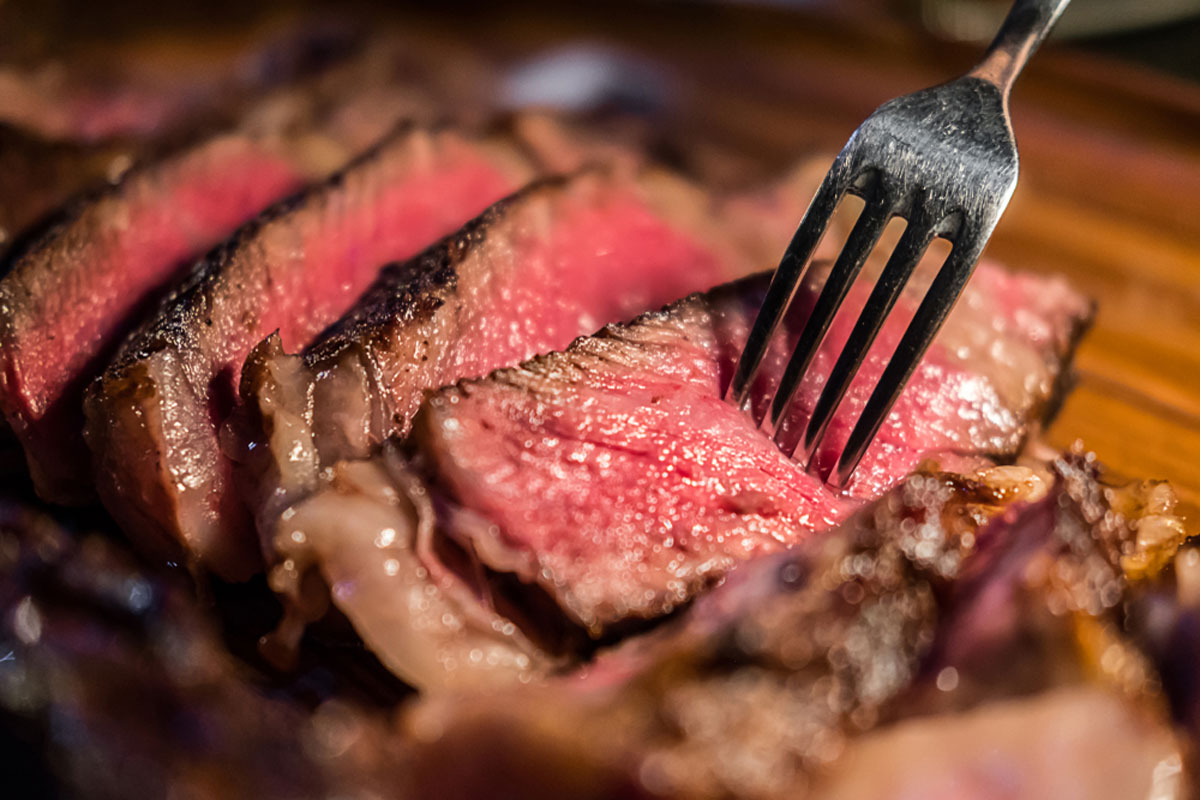
- Close-Ups for Detail: Zoom in on key moments like seasoning or garnishing for that extra “wow” effect.
- Angles and Transitions: Switch between different angles to keep viewers engaged. Move from wide shots of the workspace to close-ups for variety.
- Time-Lapse for Lengthy Steps: If you’re simmering or baking for a long time, use your phone’s time-lapse feature to condense these processes.
6. Capture High-Quality Sound
Sound can make or break a cooking video. Here’s how to ensure clear audio:
- External Microphone: A clip-on lavalier mic can improve sound quality and minimize background noise.
- Record Voiceovers Separately: For more polished narration, record voiceovers after filming. You can capture your commentary without needing to film and narrate simultaneously.
- Mute Background Noises: Try to film in a quiet environment, or consider turning off kitchen fans and appliances that add unwanted noise.
7. Edit Your Video with Mobile Apps
With high-quality editing apps available, you can create and edit a full video on your smartphone. Here are some tips and recommended apps:
- Trimming and Sequencing: Cut down to essential moments and arrange clips to match your cooking process.
- Adding Music and Text: Use background music to make your video lively, and add text to clarify ingredients, steps, or timing.
- Speed Control: Speed up repetitive tasks or slow down key moments like garnishing to create emphasis.
Recommended apps:
- iMovie (iOS): User-friendly with intuitive features, perfect for beginners.
- Adobe Premiere Rush (iOS & Android): Powerful editing tools and flexibility.
- InShot (iOS & Android): Great for quick edits, adding music, and text overlays.
8. Optimize for Social Media
Tailor your video to the platform where you plan to post. Here’s how:
- Vertical Format: For TikTok, Instagram Stories, or Reels, film in vertical orientation for the best fit.
- Thumbnail Image: Select an engaging still from the video as your cover image to grab attention.
- Captions and Hashtags: Add captions and relevant hashtags to improve reach. Platforms like Instagram and TikTok favor content with trending or specific food-related tags.
Wrapping Up
With your smartphone, you can produce cooking videos that look professional and engaging. By following these filming, sound, and editing techniques, you’ll be able to create content that not only showcases your recipes but also attracts viewers and grows your audience. Smartphones make it easier than ever to share your culinary expertise!

