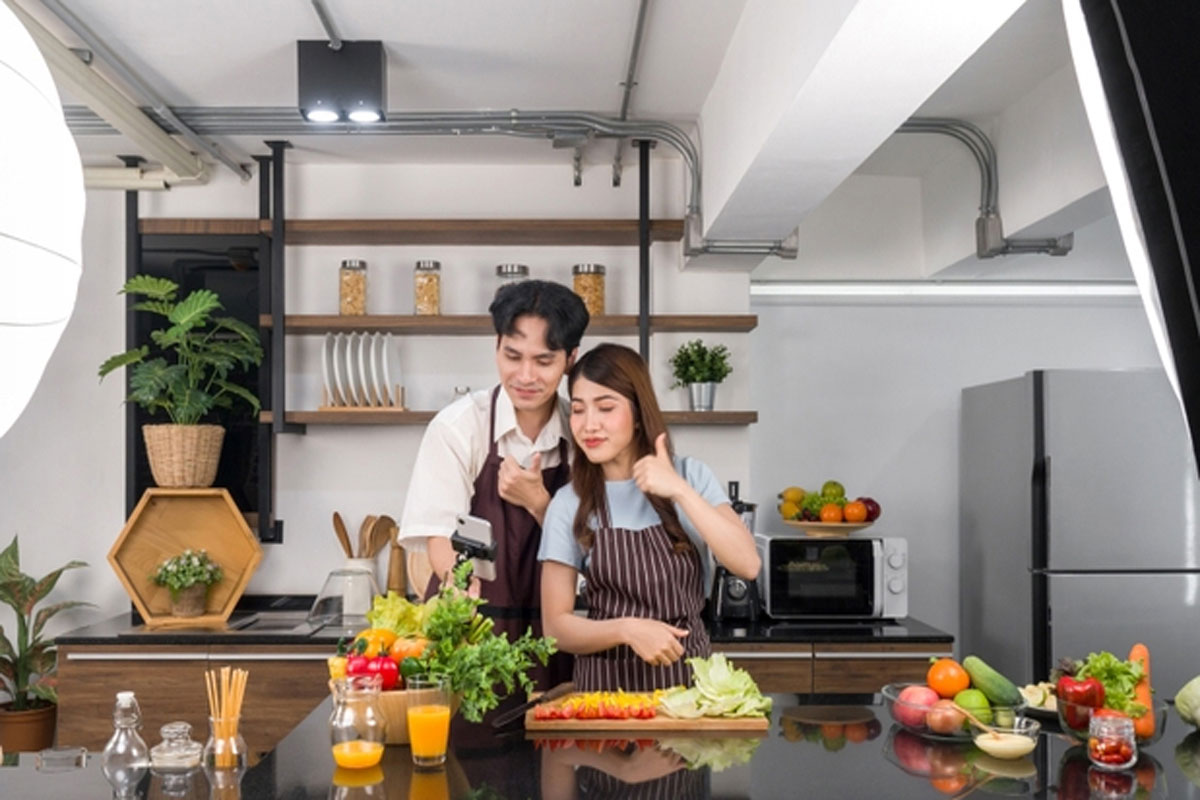
Creating a well-lit home cooking video is crucial for showcasing your dishes and engaging your audience. Here’s a tutorial on lighting for a home cooking video:
1. Natural Light is Your Best Friend:
- Position Your Setup Near Windows: Film near large windows to benefit from soft, natural light. Position your cooking area so that the light falls evenly on your workspace.
2. Choose the Right Time of Day:
- Golden Hours: Film during the golden hours, which are the first hour after sunrise and the last hour before sunset. The natural light during these times is soft and warm.
3. Use Diffusers and Reflectors:
- Diffusers: If the sunlight is too harsh, use sheer curtains, bedsheets, or purpose-made diffusers to soften and diffuse the light.
- Reflectors: Reflectors bounce light back onto your subject. You can use white foam boards, reflector discs, or even aluminum foil attached to a board.
4. Experiment with Angles:
- Avoid Direct Sunlight: Position yourself so that direct sunlight does not cast harsh shadows on your cooking area.
- 45-Degree Angle: Place the light source at a 45-degree angle from your camera to create depth and highlight textures.
5. Add Artificial Lighting When Needed:
- Supplement with Soft Artificial Light: If natural light is insufficient, add soft artificial light sources. Avoid harsh overhead lights, as they can create unflattering shadows.
- Use Softboxes or Diffused Lights: Softboxes or diffused LED lights are excellent for creating even illumination without harsh shadows.
6. Consider Color Temperature:
- Maintain Consistent Color Temperature: Ensure that all your light sources have the same color temperature. Mixing warm and cool lights can result in unnatural-looking footage.
- Adjust White Balance: Set your camera’s white balance to match the color temperature of your lights for accurate colors.
7. Avoid Overhead Shadows:
- Position Lights Strategically: If using artificial lights, position them to minimize shadows caused by overhead structures like cabinets or shelves.
- Use Bounce Cards: Place bounce cards near your workspace to reflect light and fill in shadows.
8. Illuminate the Background:
- Balance Light Across the Scene: Ensure that not only the cooking area is well-lit but also the background. This helps maintain a cohesive and professional look.
9. Test and Adjust Before Filming:
- Test Shots: Before starting the actual recording, take test shots to check for any lighting issues or unwanted shadows.
- Make Necessary Adjustments: If something doesn’t look right, don’t hesitate to make adjustments to the lighting setup.
10. Monitor Throughout Filming:
- Check Periodically: Keep an eye on the lighting conditions throughout your recording. Changes in natural light may require you to adapt your artificial lighting setup.
By following these lighting tips, you can create visually appealing and professional-looking home cooking videos that showcase your culinary creations in the best possible light.
OUR TOP 5 LIGHTING PRODUCTS FOR BRIGHTENING UP YOUR COOKING STAGE
Neewer 660 LED Video Light
The Neewer 660 LED Video Light provides adjustable brightness and color temperature. With a durable aluminum alloy construction, it offers a soft and even illumination for cooking videos.
Rating: 9/10 – Versatile, affordable, and suitable for various lighting scenarios in the kitchen.
Godox SL-60W LED Video Light
The Godox SL-60W is a powerful daylight-balanced LED light with excellent color accuracy. It features a Bowens mount for attaching modifiers and a quiet fan for heat dissipation during extended use.
Rating: 8.5/10 – Bright and reliable, but may be more substantial for smaller kitchen setups.
LimoStudio 700W Photography Softbox Lighting Kit
The LimoStudio 700W Photography Softbox Lighting Kit is a versatile and user-friendly lighting solution, particularly well-suited for beginners in photography and videography.
Rating: 8/10 – We love this for ease of use and effectiveness in providing soft and even lighting.
Aputure AL-M9 Amaran Pocket-Sized LED Light
The Aputure AL-M9 is a compact LED light with adjustable brightness levels and a built-in lithium battery. It’s portable and can be useful for adding focused light to specific areas in your cooking space.
Rating: 8/10 – Extremely portable and handy for targeted lighting, but may not cover larger spaces.
Lume Cube Panel Mini LED Light
The Lume Cube Panel Mini is a portable and adjustable LED light with multiple color temperature settings. It’s compact, making it suitable for smaller kitchen setups, and can be mounted on a variety of surfaces.
Rating: 7.5/10 – Portable and versatile, but may have limitations in terms of coverage for larger cooking areas.
Note: Ratings are subjective and based on factors such as brightness, color accuracy, portability, and versatility. Consider your kitchen size and lighting needs when selecting equipment.


