Creating a cooking video involves a combination of planning, filming, and editing to produce an engaging and visually appealing presentation. Here’s a step-by-step guide on how to create a cooking video:
Step 1: Plan Your Content
To begin, immerse yourself in the exciting world of culinary creativity. Select a recipe that not only tantalizes the taste buds but also resonates with your audience’s preferences and interests. Break down the cooking process into manageable steps, ensuring clarity and coherence. Take the time to gather all necessary ingredients, prepping and organizing them meticulously before the filming begins.
Step 2: Set Up Your Kitchen
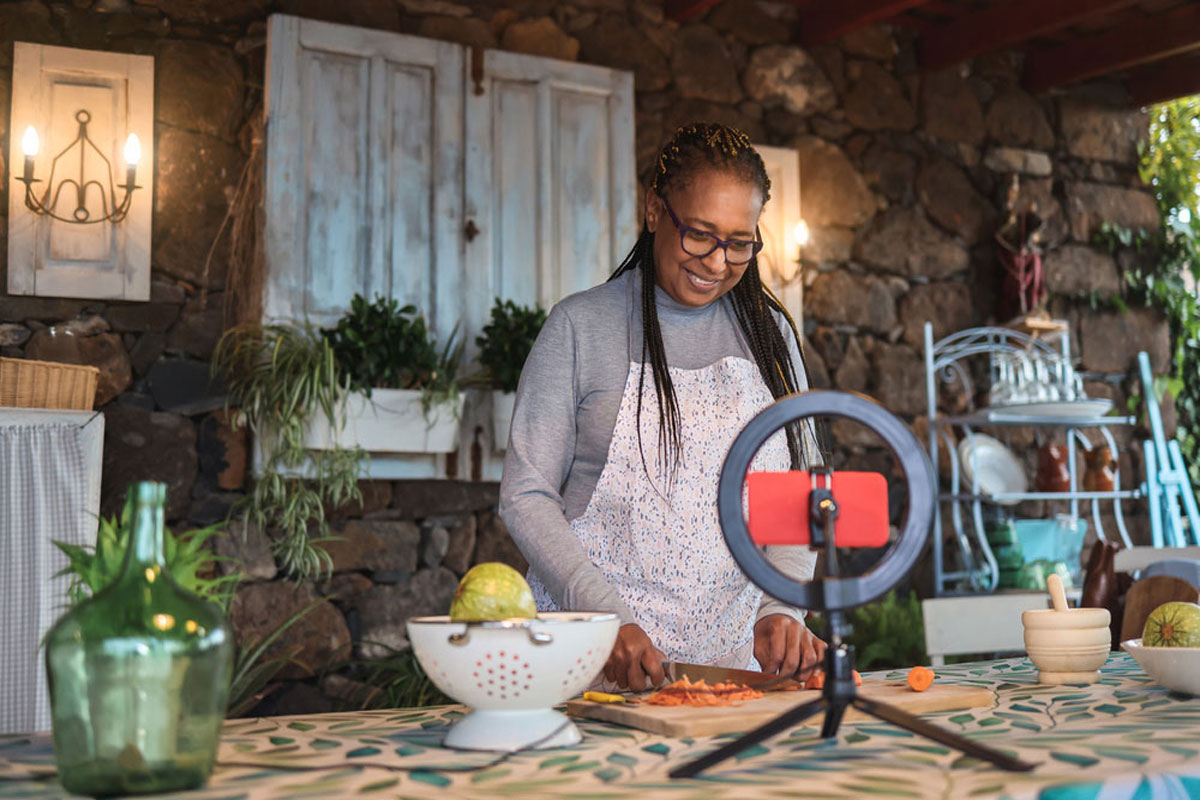
Transform your kitchen into a stage where culinary magic unfolds. Create an environment that embodies cleanliness and organization, providing the perfect backdrop for your culinary masterpiece. Deliberately choose a background that not only complements your personal style but also enhances the visual appeal of your video. Whether bathed in natural light or illuminated by well-diffused artificial lighting, ensure your kitchen is a beacon of warmth and invitation.
Step 3: Gather Equipment
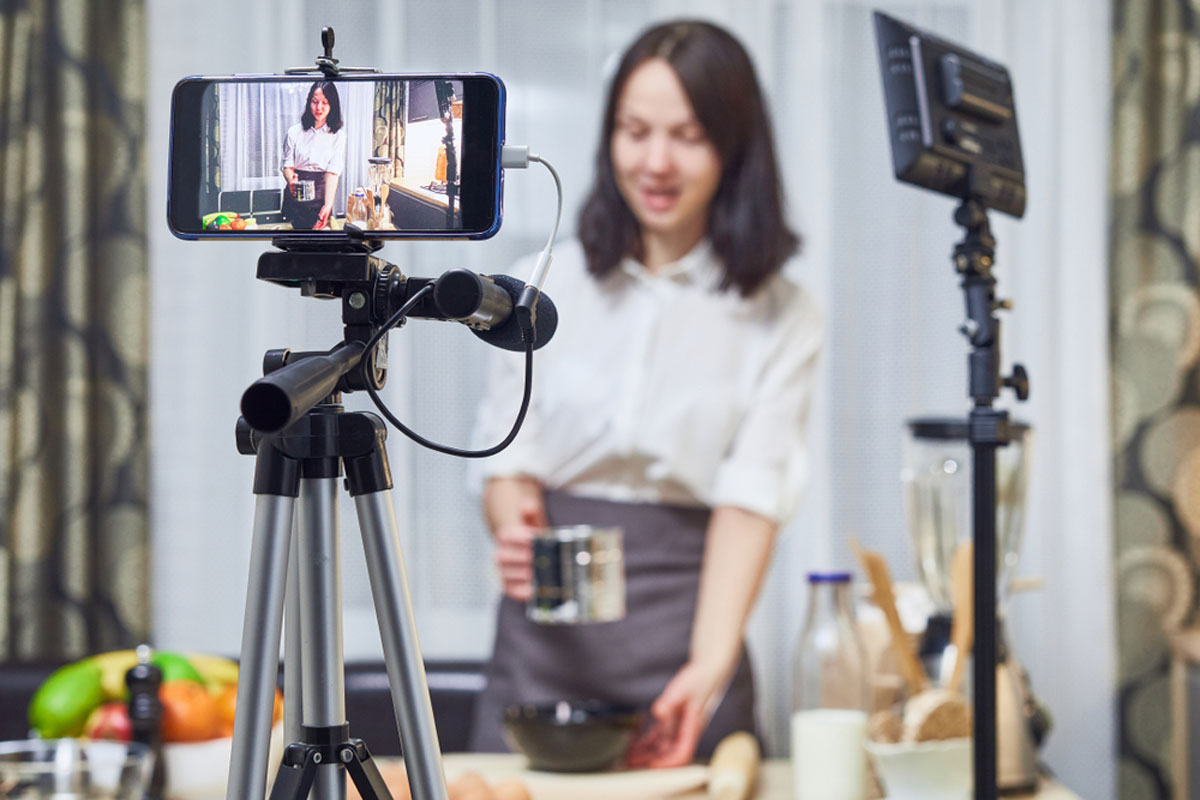
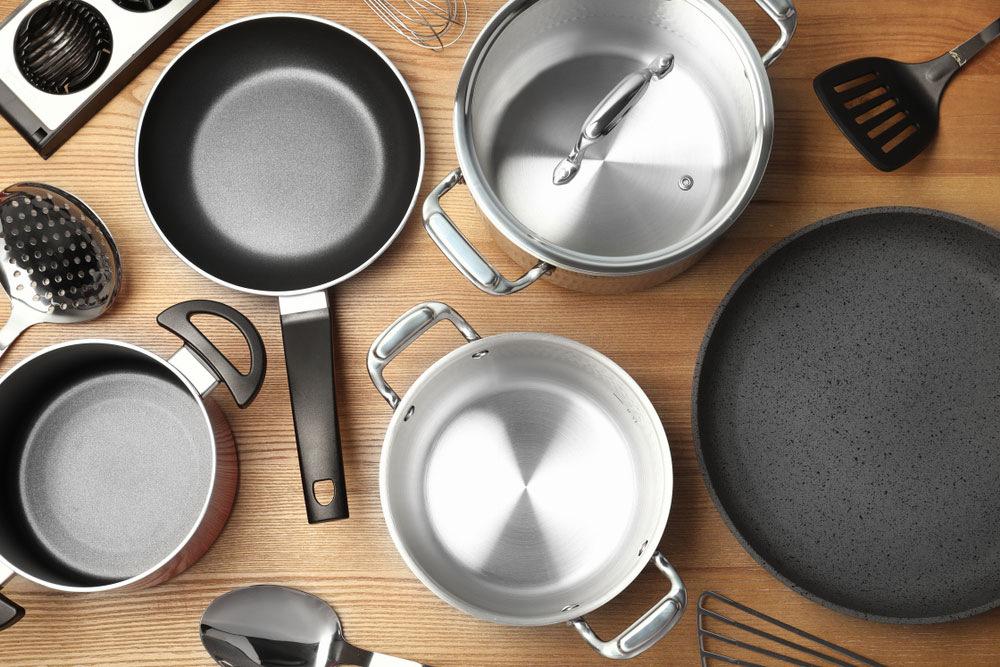
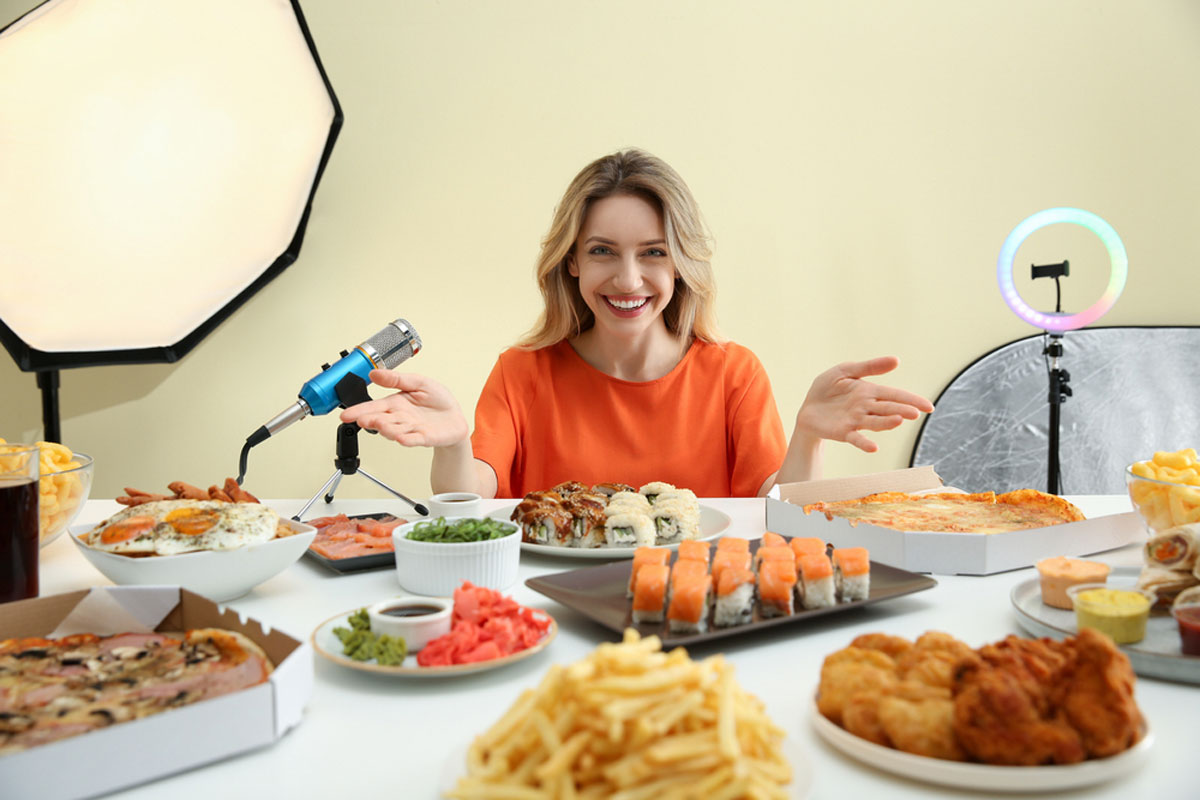
Arm yourself with the tools of the trade, ready to capture every savory moment of your culinary journey. Invest in a quality camera to ensure crystal-clear visuals that captivate your audience. Secure your camera in place with a sturdy tripod, guaranteeing steady shots that showcase your culinary prowess. Pay careful attention to lighting, whether harnessing the soft glow of natural light or orchestrating the perfect balance of artificial illumination.
Step 4: Frame Your Shots
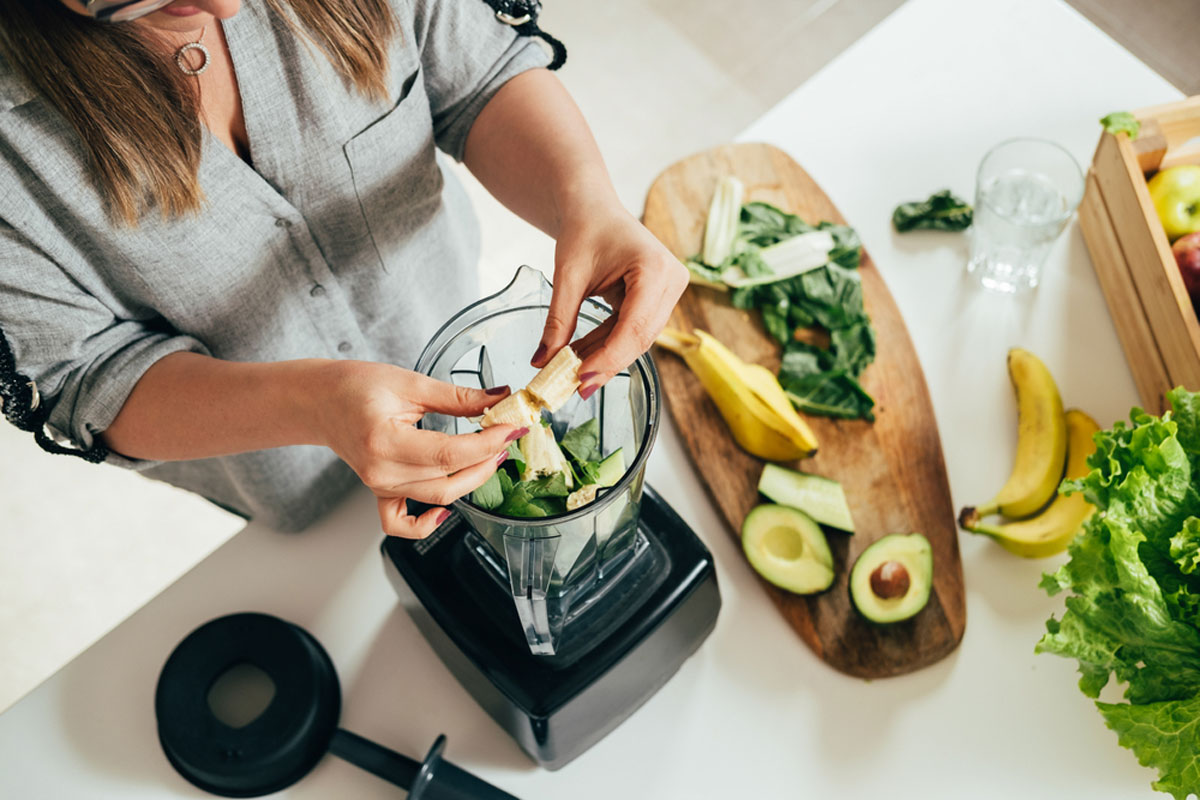
Craft your visual narrative with intention, considering every angle and perspective to captivate your audience. Experiment with overhead shots, close-ups, and wide-angle views, offering dynamic visuals that invite viewers into your culinary world. Set the stage for your gastronomic adventure by highlighting key ingredients and essential tools, enticing your audience from the very beginning.
Step 5: Start Filming
Embark on your culinary odyssey with confidence and enthusiasm. Open your video with a brief introduction, setting the tone for the delectable journey ahead. Capture each step of the cooking process with meticulous attention to detail, guiding your audience through the intricacies of your recipe. Engage with your viewers on a personal level, maintaining eye contact with the camera and infusing your narration with warmth and authenticity.
Step 6: Focus on Details
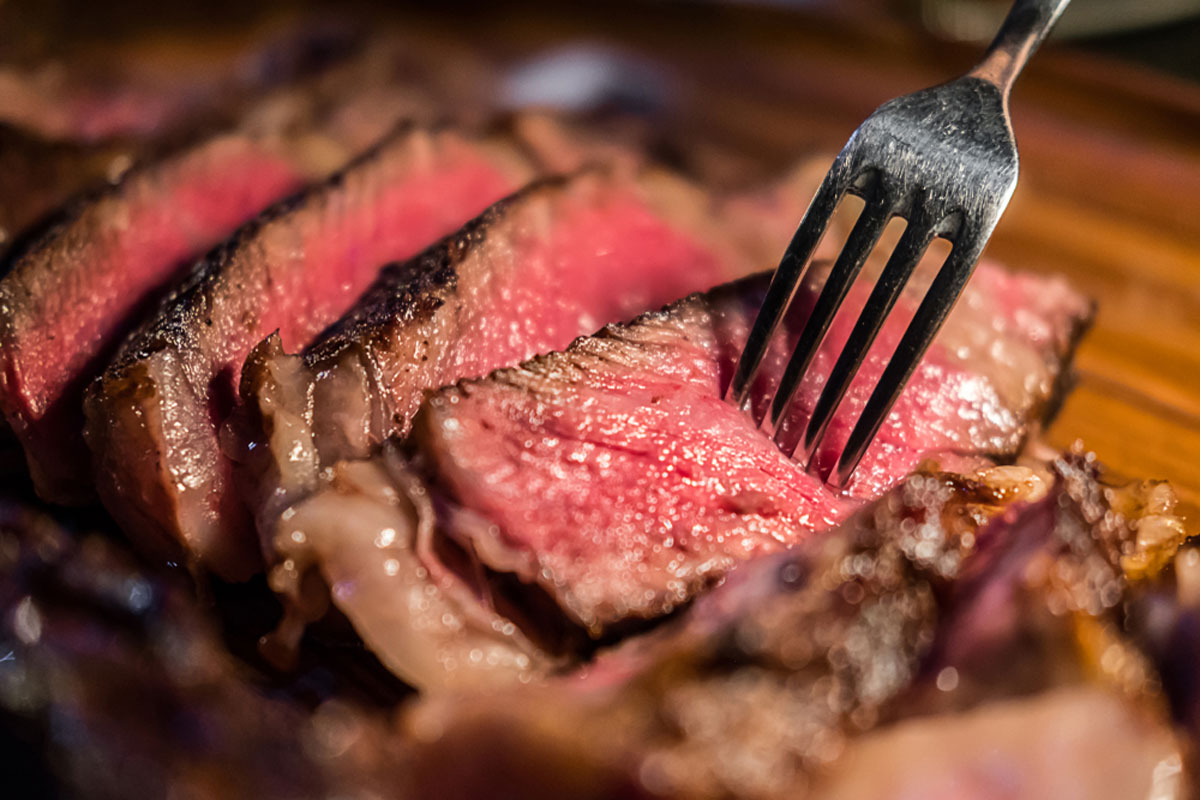
Zoom in on the intricate nuances of your culinary creation, elevating your video with rich texture and depth. Showcase the artistry of chopping, stirring, and sautéing, allowing viewers to immerse themselves fully in the sensory experience. Highlight the tantalizing texture and irresistible aroma of your ingredients at every stage of the cooking process, inviting viewers to savor each moment.
Step 7: Pay Attention to Timing
Master the delicate dance of pacing, ensuring your video unfolds at a rhythm that keeps viewers entranced from start to finish. Seamlessly integrate time lapses for processes that require patience, such as the slow transformation of ingredients in the oven or the gentle simmering of a savory sauce.
Step 8: Consider Narration
Infuse your culinary narrative with personality and passion, deciding whether to provide live commentary or incorporate a thoughtful voiceover during the editing process. Share your expertise and insights with your audience, offering invaluable cooking tips, personal anecdotes, and cultural context that enrich their experience.
Step 9: Edit Your Video
Embrace the role of the culinary maestro as you fine-tune your video to perfection. Trim and cut with precision, eliminating any extraneous footage to ensure a concise and compelling narrative. Seamlessly transition between scenes with artful edits and enhance visual appeal with adjustments to color, contrast, and brightness.
Step 10: Add Music (Optional)
Elevate your culinary symphony with a carefully curated soundtrack that sets the mood and enhances the emotional resonance of your video. Strike the perfect balance between background music and ambient sounds, ensuring your narration and cooking sounds remain the focal point of the auditory experience.
Step 11: Final Touches
Polish your culinary masterpiece with the finishing touches that elevate it to cinematic excellence. Add text overlays for ingredients and cooking times, ensuring clarity and accessibility for your audience. Maintain consistency in your branding throughout the video, reinforcing your unique identity and aesthetic.
Step 12: Publish and Share
Prepare to share your culinary creation with the world, selecting the platforms that best showcase your talents and reach your target audience. Craft a captivating video description that entices viewers to embark on a gastronomic adventure with you, fostering engagement and interaction. Embrace the opportunity to connect with your audience on a deeper level, responding to comments, encouraging feedback, and cultivating a vibrant community around your culinary content.
Remember, practice makes perfect. Experiment with different filming and editing techniques, and most importantly, have fun creating delicious content for your audience!

