Professional lighting can elevate your video production, but it doesn’t have to break the bank. With some creativity and everyday household items, you can achieve high-quality lighting setups that rival professional studio setups. Here’s how to do it:
1. Understand the Basics of Lighting
Before diving into setups, familiarize yourself with these principles:
- Key Light: The main source of light, placed at an angle to illuminate your subject.
- Fill Light: Balances the shadows created by the key light, typically softer.
- Backlight: Adds depth by separating the subject from the background.
2. Use Natural Light as Your Ally
What to Do:
- Set up near a large window for soft, natural light.
- Use sheer curtains or a white sheet to diffuse harsh sunlight.
- Shoot during golden hours (early morning or late afternoon) for flattering light.
Pro Tip: Position your subject at an angle to the window to avoid flat lighting or harsh shadows.
3. DIY Diffusers for Softer Light
Why: Harsh light creates unflattering shadows, while diffused light is softer and more professional-looking.
How:
- Use white baking parchment or wax paper over a lamp to diffuse light.
- Stretch a white bedsheet over a frame or hang it in front of a light source.
- Bounce light off a white wall or foam board for indirect illumination.
Safety Tip: Ensure there’s enough distance between the light source and flammable materials.
4. Use Household Lamps Strategically
How to Use Them:
- Desk Lamps: Adjustable necks make them great for directing light.
- Floor Lamps: Use as a fill light for larger setups.
- Clip-On Lamps: Attach to shelves or stands for versatility.
Enhancements:
- Cover the lamps with white paper or shower curtains for diffusion.
- Place colored cellophane over bulbs for creative effects.
5. Reflect Light with Everyday Items
DIY Reflectors:
- Use aluminum foil wrapped around cardboard for a reflective surface.
- White foam boards, mirrors, or even car sunshades can bounce light effectively.
Placement Tip: Place the reflector opposite the light source to fill in shadows.
6. Create Your Own Ring Light
What You Need:
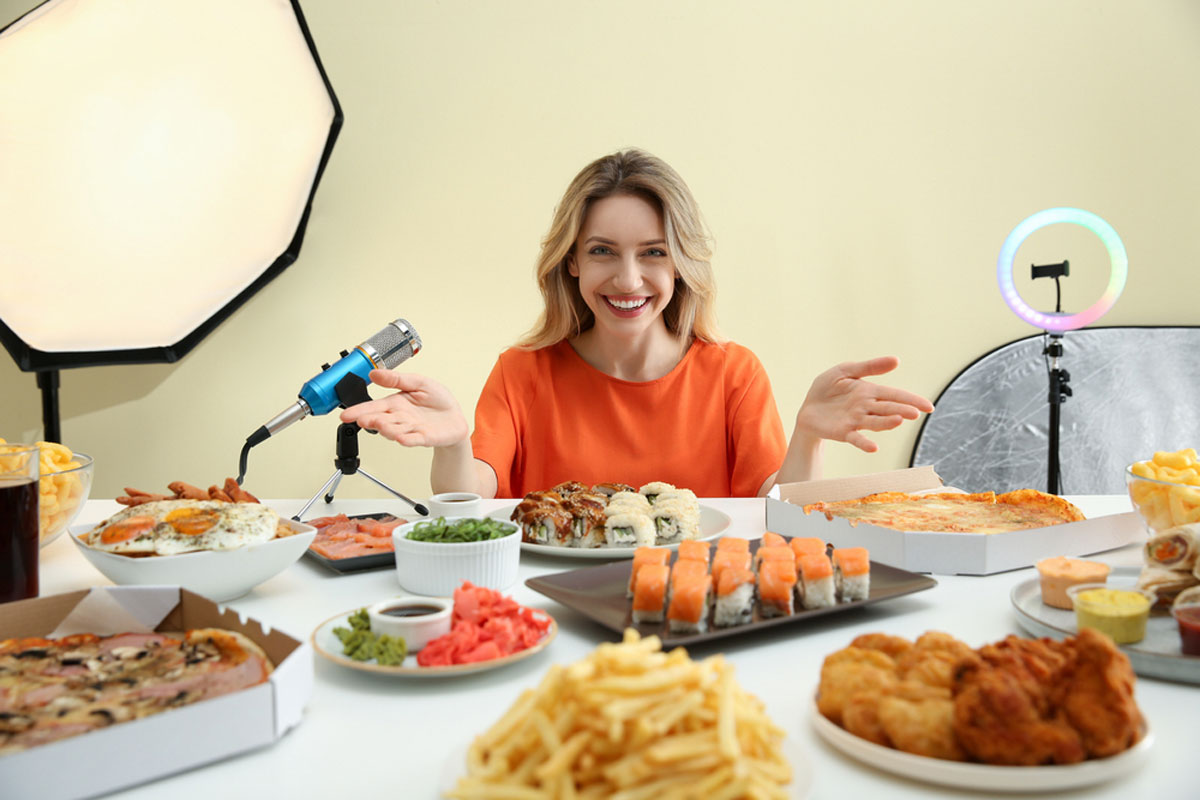
- A circular object (like a wire wreath frame or hula hoop).
- String lights or LED strips.
- Tape to secure the lights around the frame.
How to Use: Place the DIY ring light in front of your subject for soft, even lighting—ideal for portraits or product shots.
7. Harness Smartphone and Tablet Screens
How to Use Them:
- Use a blank white screen as a soft light source.
- Download flashlight or white-screen apps for adjustable brightness.
- Place colored filters over the screen for mood lighting.
8. Modify Overhead Lighting
Overhead lighting can create harsh shadows, but it’s easy to soften:
- Attach a white shower curtain or thin fabric to the ceiling as a diffuser.
- Use table lamps or reflectors to counteract shadows from overhead lights.
9. Experiment with Candlelight and String Lights
For a Cozy Look:
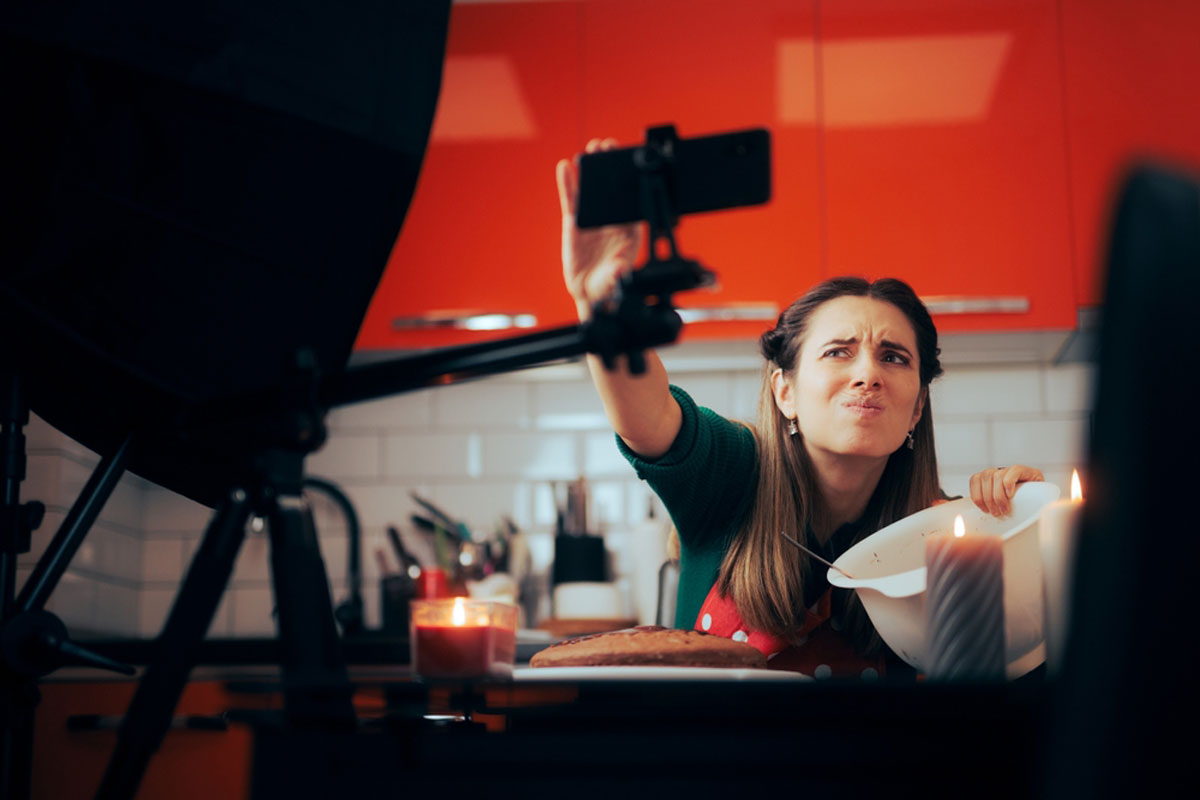
- Arrange candles for warm, soft lighting.
- Use string lights for a whimsical, bokeh effect in the background.
Pro Tip: Combine these with a white reflector for a balanced glow.
10. Camera Settings Can Help
Even with affordable lighting, tweaking your camera settings can enhance the result:
- Increase ISO to brighten darker scenes (but be cautious of noise).
- Use a slower shutter speed for more light exposure.
- Adjust white balance to match your light source.
11. Test and Adapt
Lighting setups are rarely one-size-fits-all.
- Take test shots to see how the light interacts with your subject.
- Adjust angles, distances, and intensity as needed.
12. Sample Lighting Setup with Everyday Items
Setup for Talking Head Video:
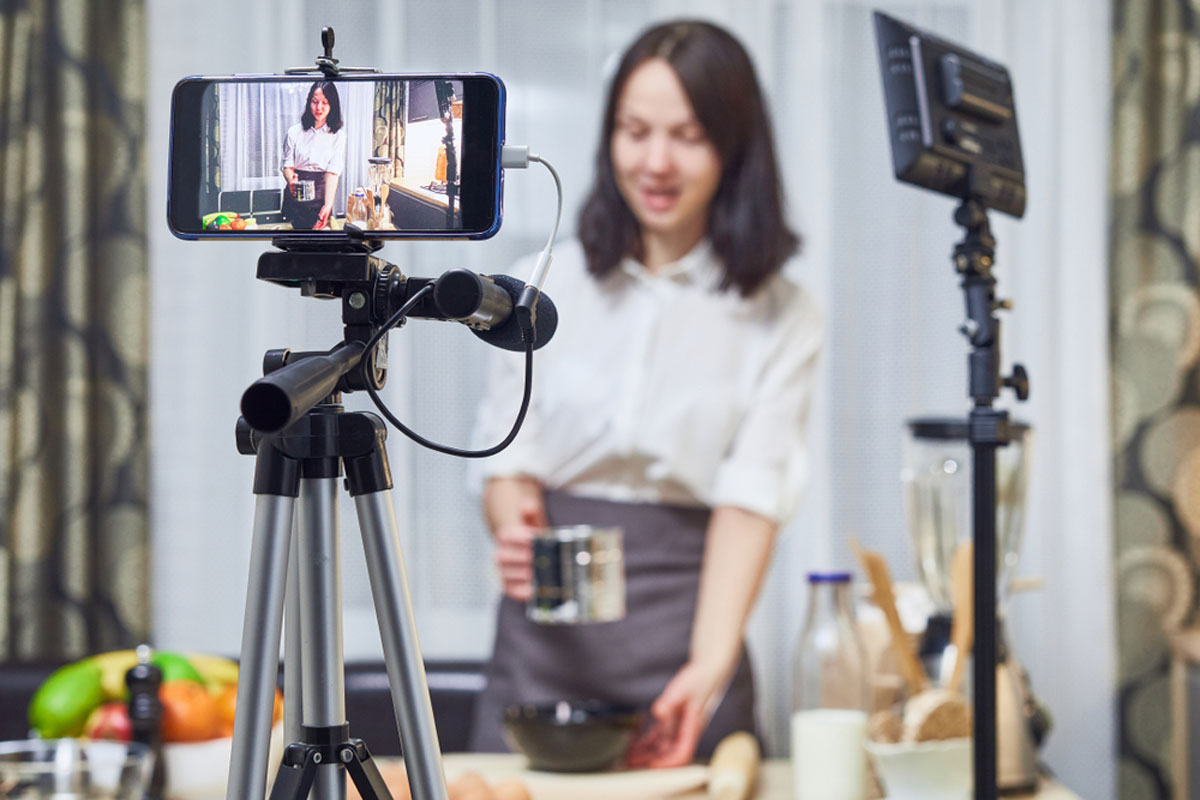
- Key Light: Desk lamp with parchment paper diffuser, positioned at a 45° angle.
- Fill Light: Reflector made from aluminum foil, placed opposite the key light.
- Backlight: String lights or a candle for a warm glow.
Setup for Product Photography:
- Key Light: Smartphone screen or lamp with white fabric diffuser.
- Fill Light: Foam board reflector on the opposite side.
- Background: LED strip lights for an aesthetic effect.
With these affordable and creative tips, you can achieve professional lighting without expensive equipment. Experiment with different combinations to discover what works best for your content, and enjoy the process of crafting beautiful visuals on a budget!

