Creating a multi-camera setup for cooking videos can make your content far more engaging, adding dynamic visuals that showcase every detail of the cooking process. Here’s a guide on setting up multiple camera angles effectively without breaking the bank.
1. Choose Your Cameras Wisely
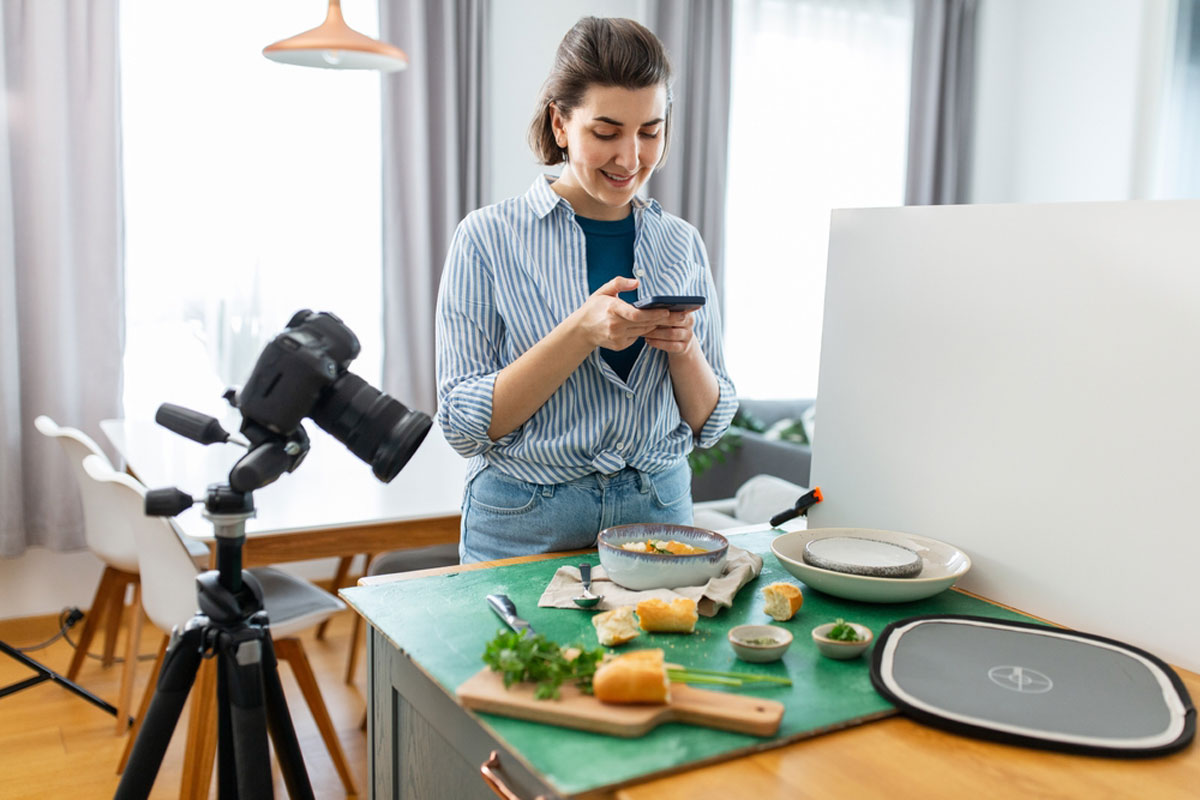
- Primary Camera (High-Quality): This will capture the main shot, such as you or the cooking area, so invest in a quality DSLR or mirrorless camera, if possible. The Canon EOS M50 or Sony ZV-1 are popular options for high-quality video at a reasonable price.
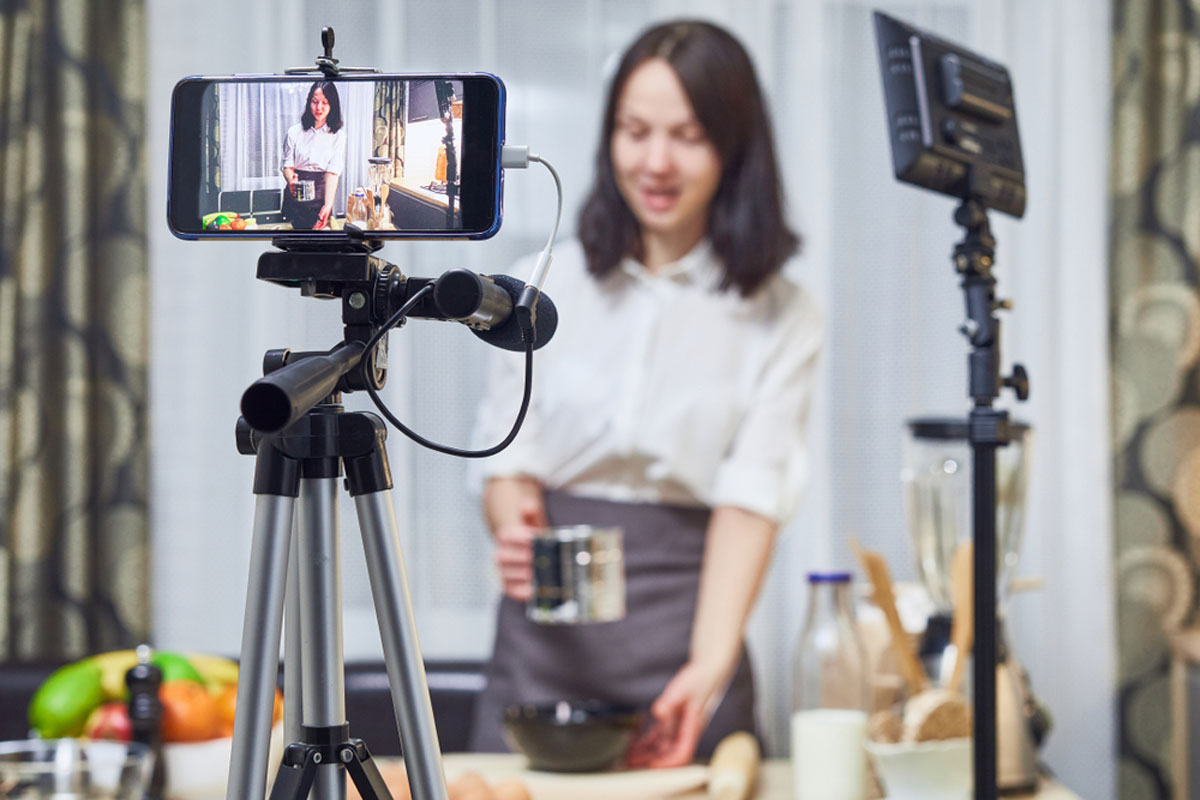
- Secondary Cameras (Budget Options): Use budget-friendly options like smartphones, webcams, or GoPros for additional angles. Many newer smartphones shoot high-definition video, making them excellent secondary cameras.
- Action Cameras: GoPros or other action cameras are great for close-up shots, like overhead shots of your chopping board. They’re compact, easy to mount, and versatile.
2. Plan Your Angles
- Wide Angle: Use the primary camera to capture a wide angle that frames you and your cooking space, keeping viewers oriented in the scene.
- Close-Ups: Position a camera over the stove or counter for close-ups on ingredients and cooking techniques.
- Handheld or Moving Angle: For added engagement, consider a handheld camera to capture dynamic shots, like pouring or stirring.
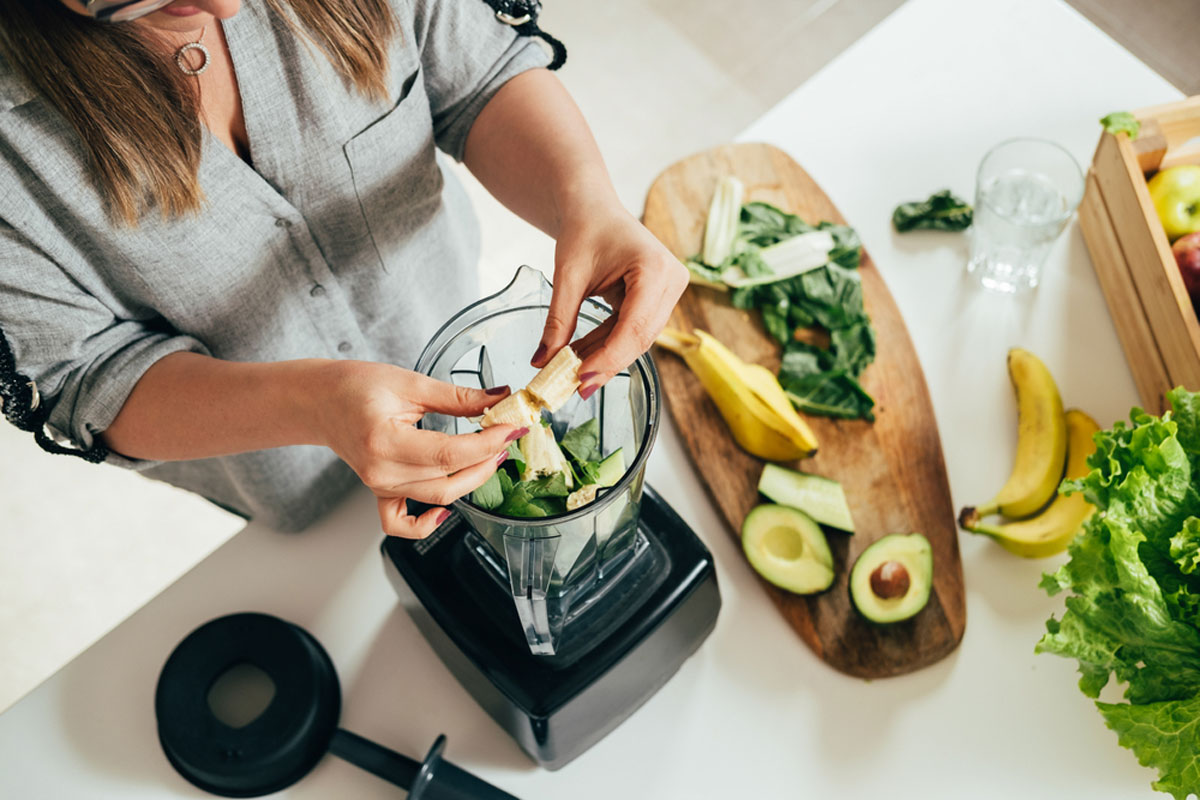
- Overhead View: An overhead view is essential for capturing intricate prep work or plating shots, perfect for giving viewers a bird’s-eye view.
3. Mounting and Positioning Cameras
- Tripods: Use adjustable tripods for each camera to allow for versatile angles and height adjustments.
- Overhead Mounts: A sturdy overhead rig or boom arm is ideal for placing a camera directly above your prep station. If on a budget, a flexible phone mount clipped to a nearby cabinet or shelf can work.
- Clamps and Mounts: Use affordable clamps or suction mounts for close-up angles on counters or stovetops.
4. Lighting Setup for Consistency
- Natural Light: If possible, film in daylight near a window to get even, soft lighting. Supplement it with inexpensive LED lights to maintain consistent lighting across shots.
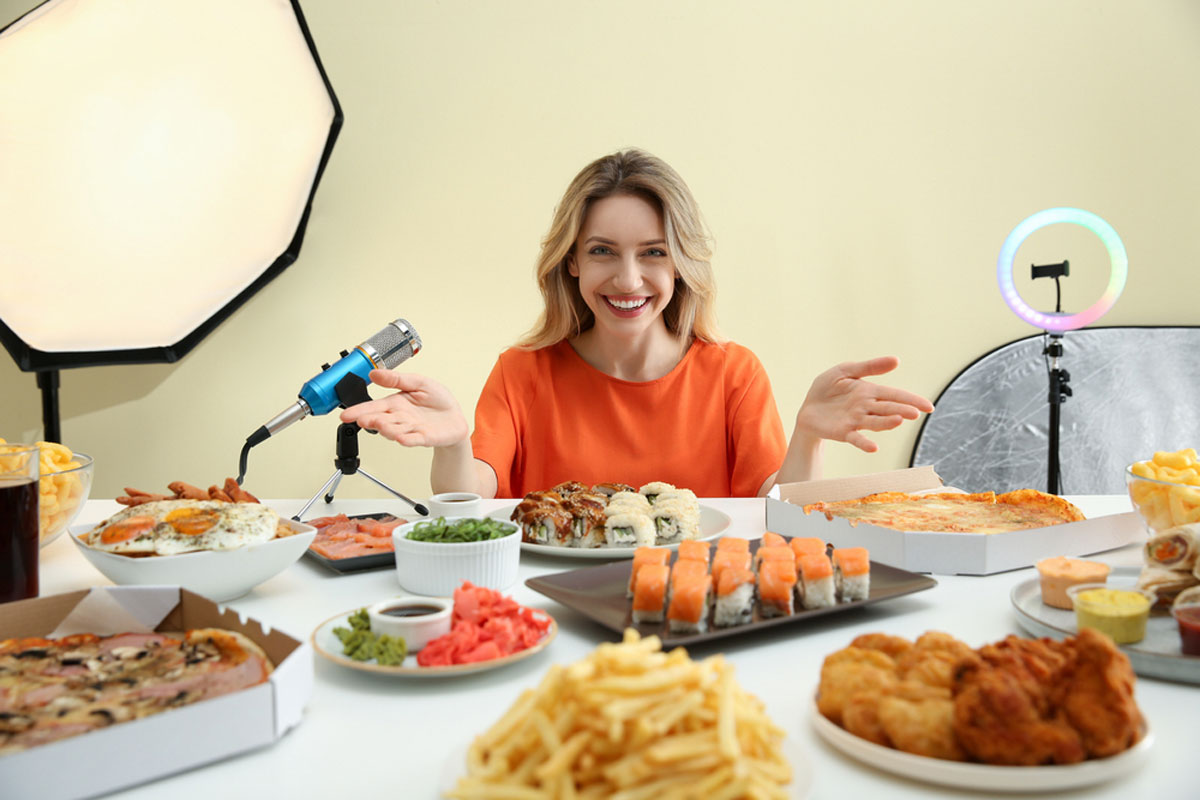
- Ring Lights or Softboxes: For a budget option, a ring light placed behind the main camera can provide even lighting. Softboxes or LED panels are ideal for eliminating shadows and illuminating different angles without glare.
5. Synchronize Your Cameras
- Start all cameras at the same time for easier editing. Use a clap or a visual cue in front of all cameras at the beginning of filming to align the footage during editing.
- Some apps (like Filmic Pro) allow you to control multiple smartphones at once, making them ideal for coordinating shots without much setup.
6. Recording Audio
- External Microphone: Audio is crucial, so invest in a good microphone. A lavalier mic (like the Rode Wireless GO) clipped to your clothing is affordable and provides quality audio.
- Dual-Channel Recorders: If you use separate audio, a dual-channel recorder can record from two sources at once, capturing background sounds and voice separately for a professional sound mix.
7. Editing Tips for Multi-Camera Footage
- Sync Clips in Editing Software: Programs like Adobe Premiere Pro, Final Cut Pro, and DaVinci Resolve have multi-cam editing features to align and switch between clips smoothly. Simply line up your clap sound or visual cue across timelines to synchronize.
- Switch Angles Frequently: Cut between angles strategically to keep the viewer engaged, emphasizing steps like chopping, mixing, or plating.
8. Affordable Alternatives and Tips
- Repurpose Old Devices: Old smartphones or cameras you have lying around can still be useful for secondary angles.
- DIY Lighting with Household Items: White poster boards as reflectors, desk lamps, or LED strips can help diffuse light and eliminate shadows affordably.
By combining affordable equipment with a thoughtful setup, you can produce high-quality, multi-angle cooking videos that highlight every step and capture every delicious detail. A setup like this can evolve as your channel grows, making it an ideal starting point.

