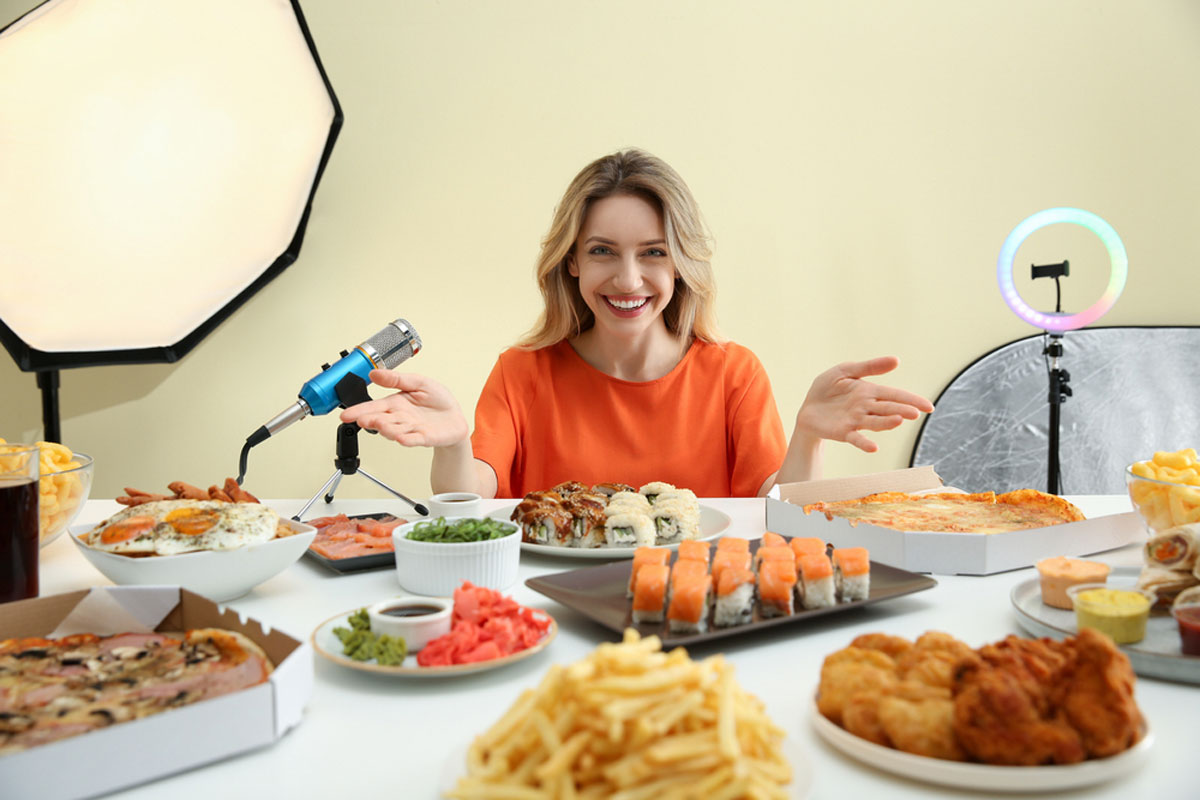
Color grading is a powerful post-production technique that can make your cooking videos pop, giving your food a vibrant and mouth-watering appeal. Whether you’re creating videos for a cooking channel or a culinary website, learning how to adjust and enhance colors can elevate your production value. Here’s a tutorial to help you get started with color grading for cooking videos.
1. Understanding the Basics of Color Grading
Before diving into the techniques, it’s essential to understand what color grading is. Color grading involves adjusting the colors, contrast, and brightness of your footage to create a specific mood, enhance visual appeal, or match a particular style. In the context of cooking videos, your goal is to make food look as appetizing as possible by making colors richer, more vibrant, and realistic.
Color Grading vs. Color Correction
- Color Correction: This is the first step, where you balance exposure, contrast, and white balance to ensure the footage looks natural.
- Color Grading: This step adds a creative layer to adjust colors, highlight the richness of ingredients, and give the final video a cohesive look.
2. Start with Color Correction
Before you start grading, it’s crucial to make sure your footage is properly corrected. Here’s what to focus on:
A. White Balance
Adjust the white balance so that whites appear truly white. This is especially important in cooking videos where your lighting may have tints of blue (from daylight) or orange (from artificial light). Ensuring accurate white balance will make the colors of your food more natural.
- Use the white balance tool in your editing software to neutralize any color casts.
- Look at the whites in the video (like a plate or chef’s coat) to ensure they don’t appear too warm or cool.
B. Exposure
Proper exposure ensures that your footage isn’t too dark or too bright, both of which can diminish the appeal of the food.
- Adjust the exposure sliders to ensure your food is clearly visible without blown-out highlights or overly dark shadows.
- Keep the focus on the food – slightly underexposing the background can make your dish stand out.
3. Enhance Colors to Make Food Pop
Once the footage is color-corrected, it’s time to make the food look as appealing as possible by emphasizing key colors.
A. Boost Saturation
Saturation controls the intensity of the colors. For cooking videos, you want colors to be rich but not unnatural.
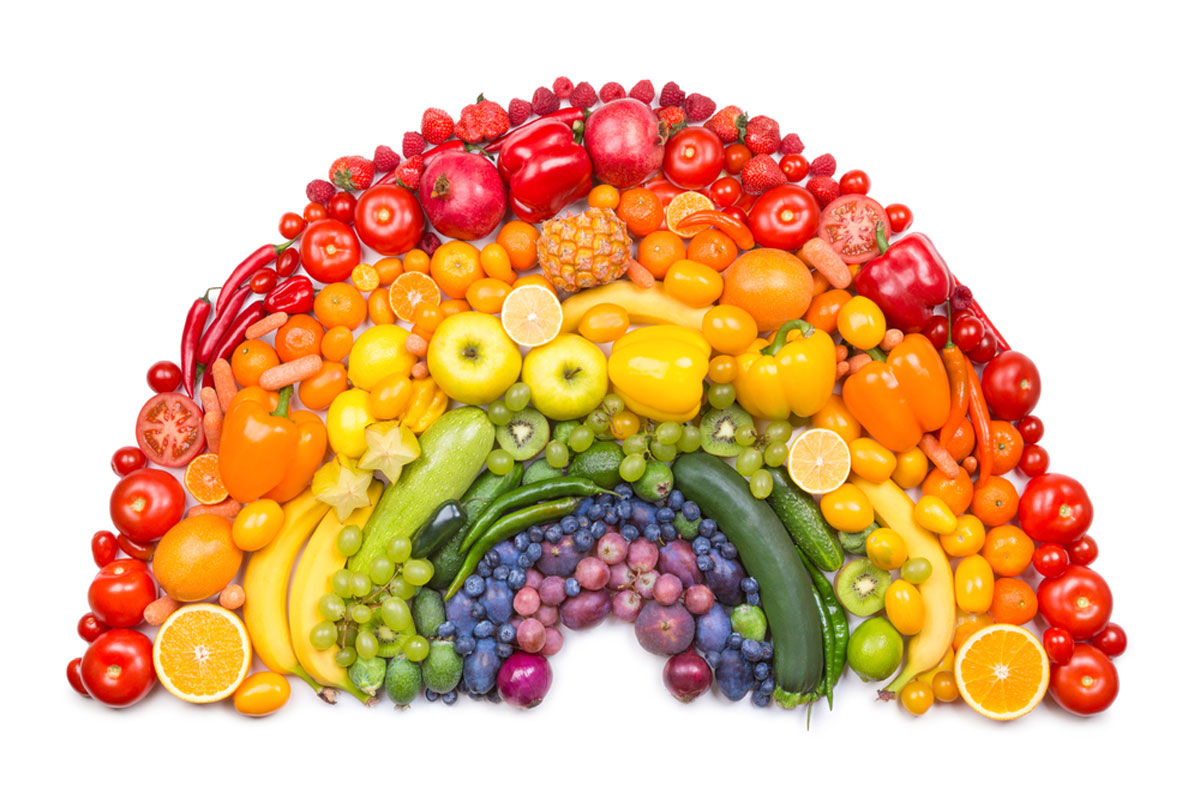
- Increase the saturation slightly to make vegetables, meats, and sauces look more vibrant.
- Be careful not to oversaturate, as it can make the food look fake or unappetizing.
B. Target Specific Colors with HSL Tools
Use the Hue, Saturation, and Luminance (HSL) tools to target specific colors in your footage, allowing you to make subtle yet impactful adjustments.
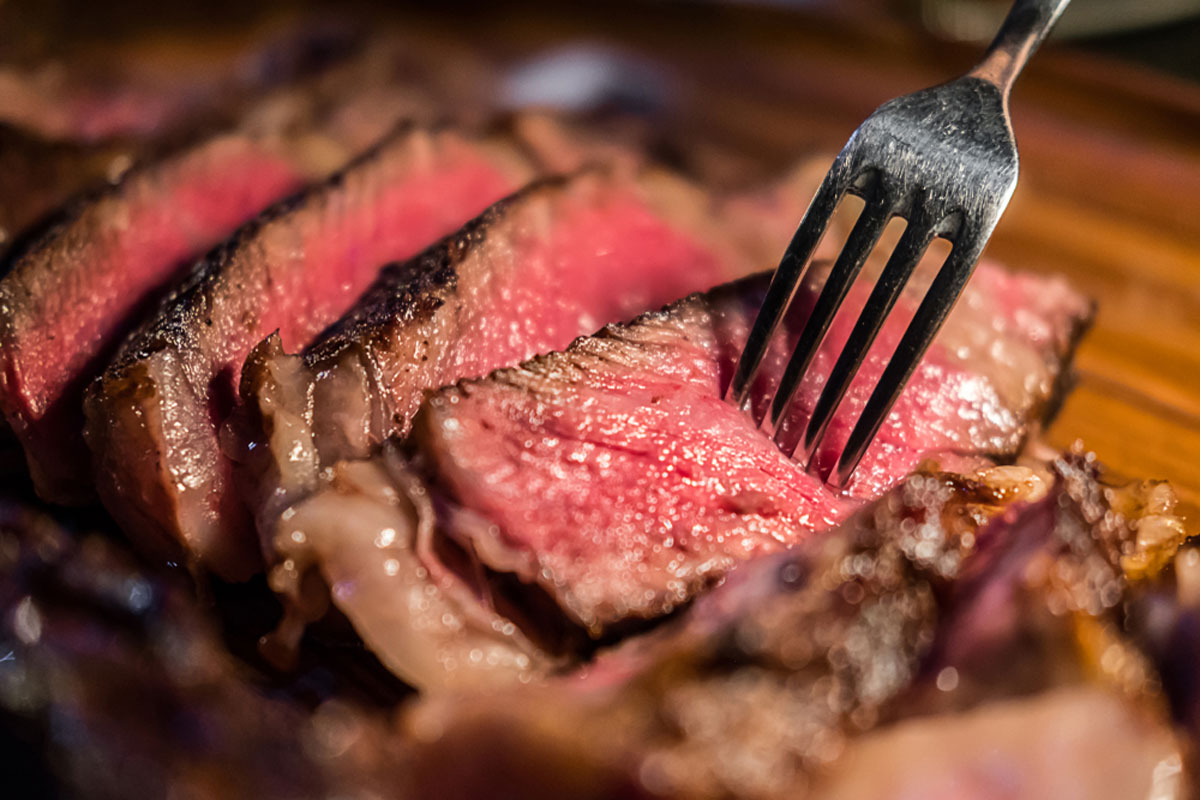
- Red and Orange: Enhance these colors to make meats look juicier and more tender. You can increase the luminance to make the dish appear more appetizing and cooked to perfection.
- Green: For salads, herbs, or vegetables, adjust the green hue and saturation to bring out the freshness.
- Yellows and Browns: Adjust these tones for grains, bread, and roasted items to ensure they look golden and perfectly cooked.
C. Use Color Wheels for Creative Adjustments
Color wheels allow you to adjust the shadows, midtones, and highlights of your footage, giving you more control over the mood of the video.
- Shadows: For a warmer feel, slightly tint the shadows towards orange or yellow. This can add a cozy, inviting atmosphere to your cooking video.
- Midtones: Adjust midtones to bring out the natural colors of the food. For example, pushing the midtones slightly toward orange will make roasted dishes look more appetizing.
- Highlights: Use neutral or cool highlights to balance out the warmth in the shadows and midtones.
4. Adding Contrast for Definition
Contrast is crucial for making the food stand out by adding definition to textures and colors. Too little contrast can make your footage look flat, while too much can blow out the details.
- Increase contrast slightly to highlight the textures of your food – think crispy skins, flaky pastries, or juicy cuts of meat.
- Be careful not to overdo it, as extreme contrast can make the food look unnatural or hide important details.
5. Applying Vignettes for Focus
A subtle vignette can help draw attention to the center of the frame, which is often where your dish is placed.
- Use a soft vignette to darken the edges of your footage, making the food the focal point without distracting viewers.
- Adjust the intensity so it remains subtle, and avoid harsh vignettes that look overly dramatic.
6. Save and Apply Presets for Consistency
To maintain a cohesive look across all your cooking videos, consider saving your color grading adjustments as a preset. This ensures that your future videos have a consistent color profile, creating a professional and branded look.
- Most editing software allows you to save grading presets. Apply these presets to new footage to save time while maintaining a consistent visual style.
- You can always tweak each preset slightly depending on the dish or scene, but having a base preset ensures a unified appearance.
7. Final Touch: Matching Colors to the Style of Your Channel
Your cooking channel may have a specific vibe or aesthetic—whether it’s rustic, modern, or vibrant. Adjust your color grading to match this theme.
- For rustic food channels, lean towards warmer tones with a slightly desaturated look for a more natural and homely feel.
- For vibrant, high-energy channels, boost saturation and contrast to make the colors more striking.
- For modern and minimalist aesthetics, keep the colors crisp and clean with neutral highlights and controlled saturation.
Conclusion
Color grading can transform your cooking videos from good to great by making your dishes look irresistible on screen. By mastering color correction, enhancing specific hues, and adjusting contrast, you can highlight the best qualities of the food and create a visual experience that makes viewers hungry for more. Whether you’re showcasing the vibrant greens of a salad or the golden brown of a roast, the right color grading will enhance every dish you feature.

