Whether you’re new to filming cooking videos or looking to refine your process, creating a smooth workflow is essential. In this tutorial, we’ll explore how to plan, prep, and organize your shoot for maximum efficiency, so you can focus on delivering great content while minimizing stress.
Step 1: Pre-Production Planning
Planning is key to a smooth shoot. Here’s what you need to do:
1.1 Choose Your Recipe
- Select a recipe that aligns with your audience’s preferences or trends.
- Ensure it is clear and concise, so viewers can easily follow.
- If it’s a complex dish, break it down into manageable sections.
1.2 Script Your Video
- Draft a basic script to keep your video focused. Include:
- Introduction: Briefly explain what you’ll be making.
- Ingredients: List them clearly.
- Step-by-step instructions: Break down the cooking process into easy-to-follow steps.
- Final thoughts: Encourage engagement (e.g., asking viewers to like, comment, and subscribe).
- If you’re comfortable, try using bullet points rather than a word-for-word script to keep it natural.
1.3 Create a Shot List
- List all the shots you need for the video, including different angles and close-ups. This could include:
- Wide shots of the kitchen and overall process.
- Medium shots focused on you as you cook.
- Close-up shots of cutting, stirring, and plating.
- Plan for B-roll: Think about additional footage, like ingredient prep, cooking sounds, or time-lapse shots.
1.4 Gather Your Equipment
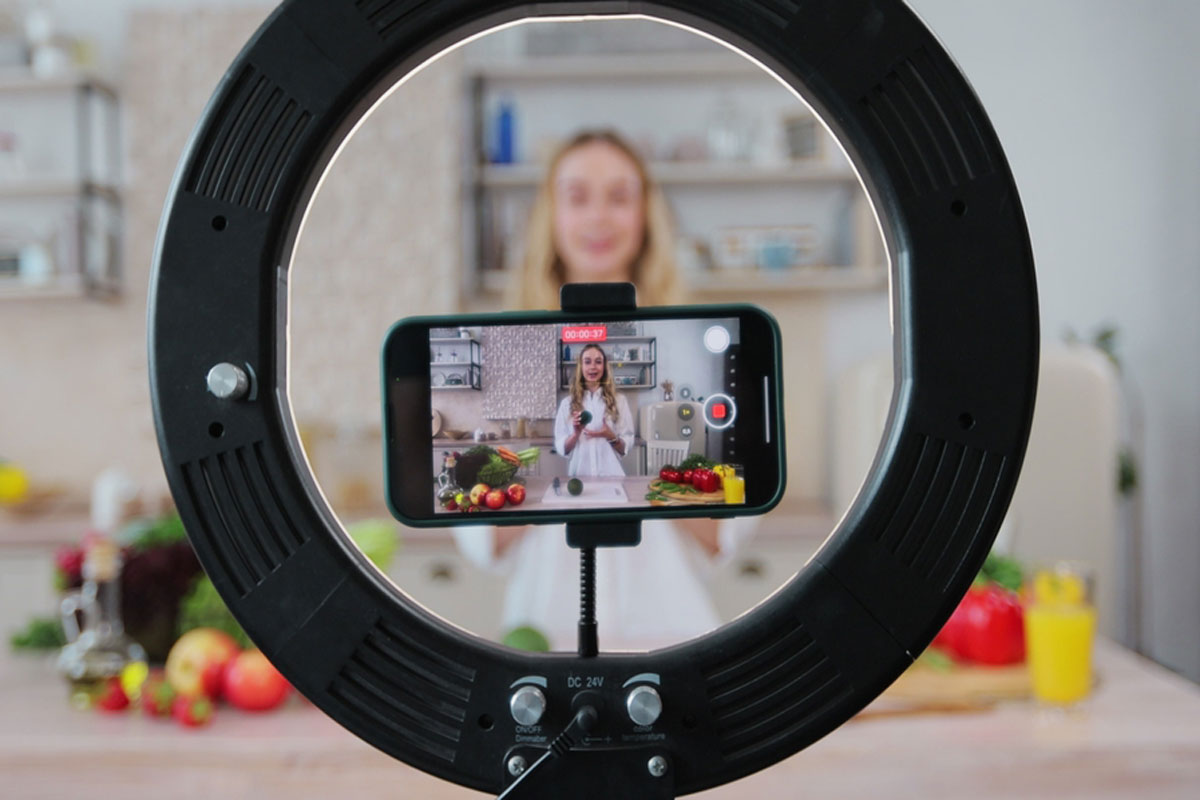
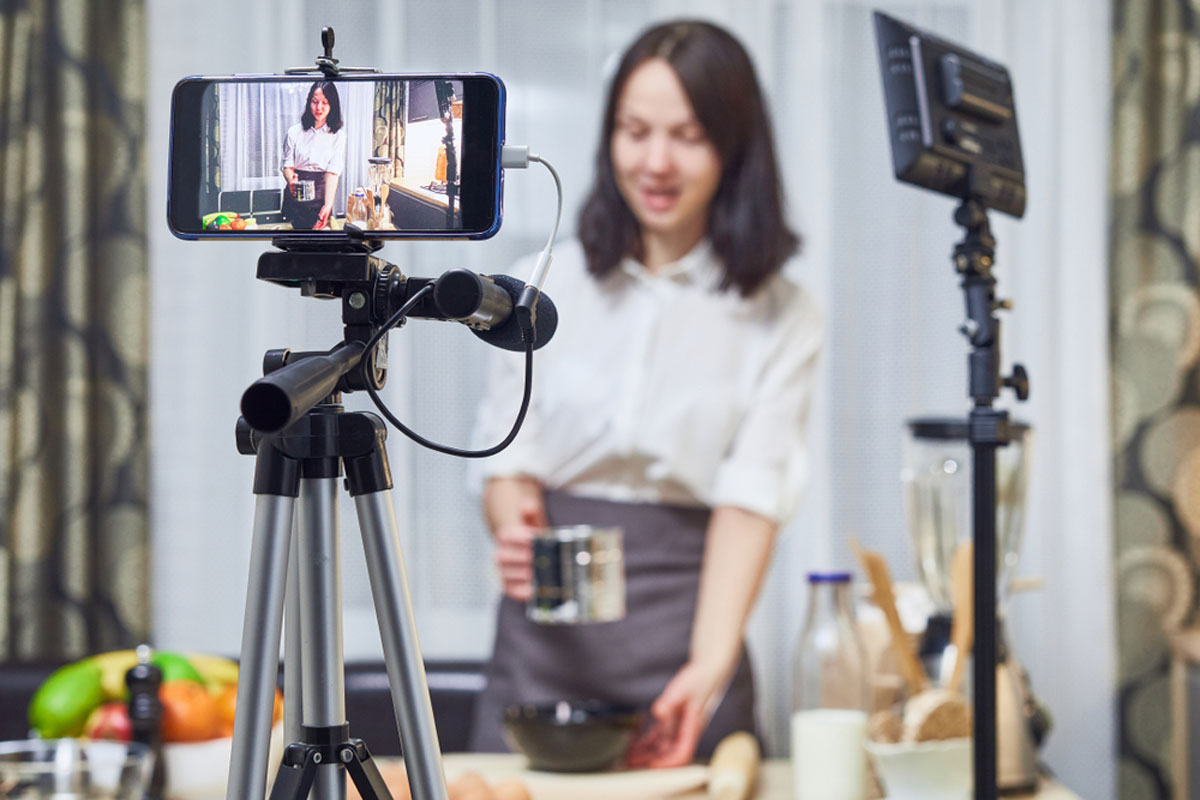
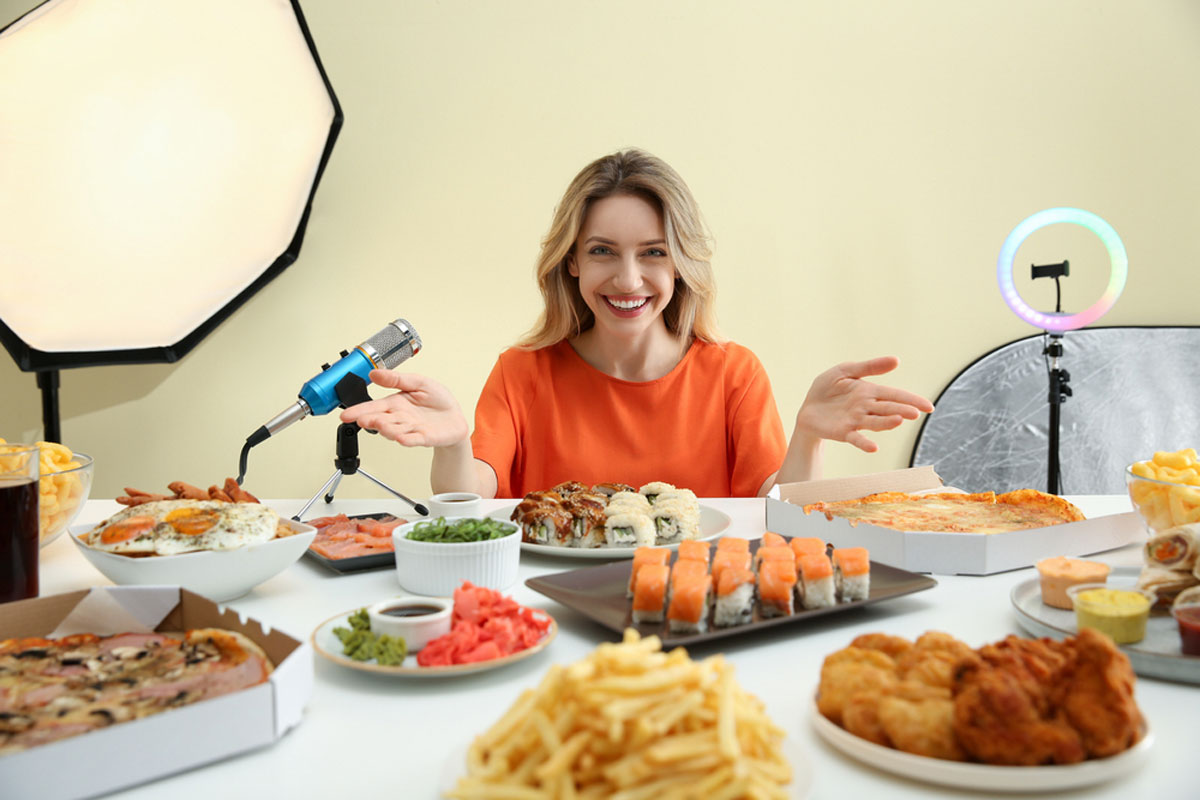
- Make sure all cameras, tripods, and lighting gear is fully charged and set up.
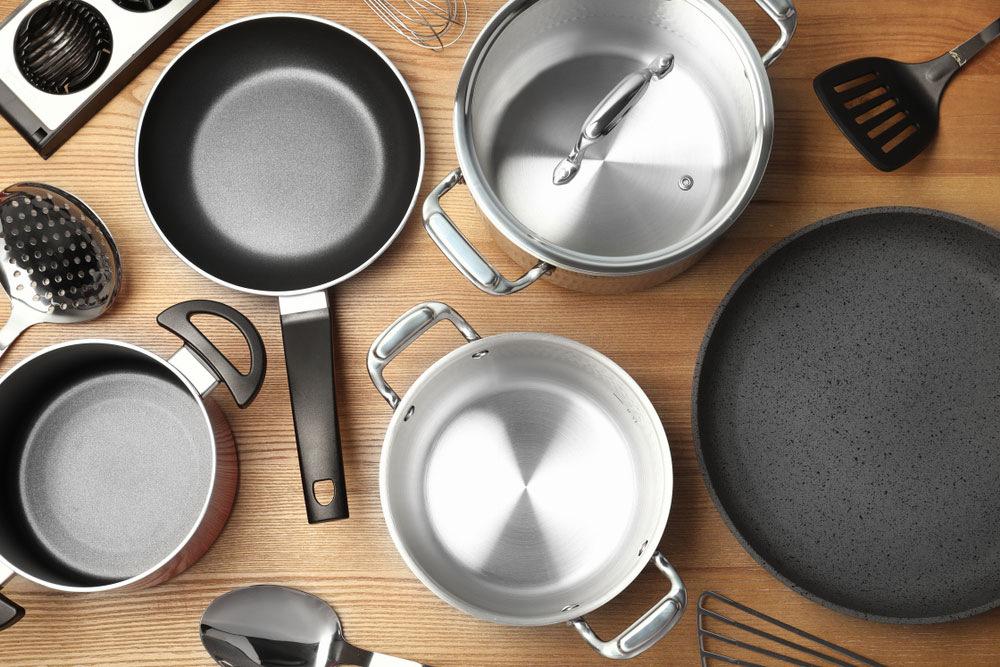
- Have your props and utensils in place—keep them clean and ready for filming.
- Set up your kitchen space for maximum efficiency by ensuring the camera can capture all necessary angles without clutter.
Step 2: Prepping for the Shoot
Before you start filming, do as much preparation as possible to minimize interruptions:
2.1 Mise en Place
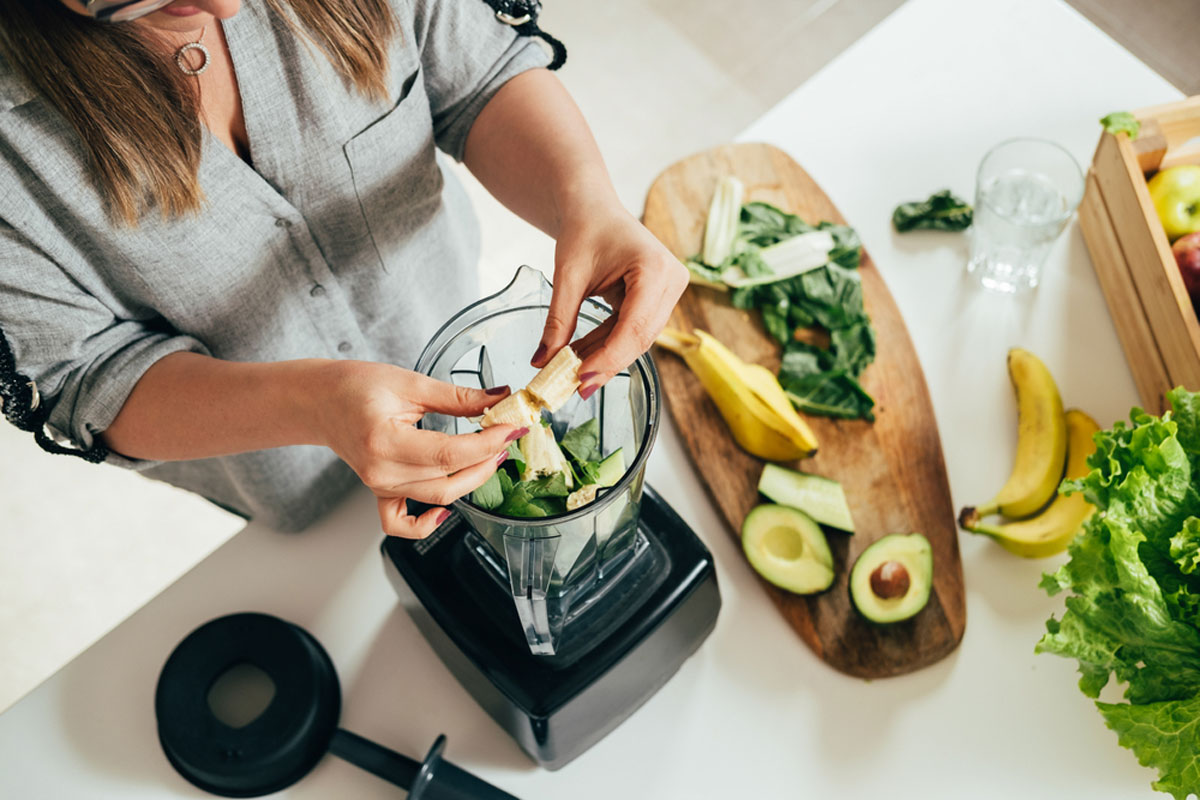
- Prep your ingredients ahead of time. Measure, chop, and arrange everything you need so it’s ready to use when you film.
- Organize ingredients in bowls or containers for easy access during filming.
2.2 Set the Scene
- Clean and declutter your filming space. A neat kitchen will look more appealing on camera and help you stay focused.
- Ensure lighting is optimal: Use natural light if possible or set up soft lighting to avoid harsh shadows.
- Check that your background is visually appealing but not too distracting.
Step 3: Filming with Efficiency
Now that you’re prepared, it’s time to start shooting. Here’s how to stay organized during the process:
3.1 Follow the Script and Shot List
- Stick to your shot list to avoid missing any key steps or shots.
- Keep track of your script to stay on topic and avoid rambling. Try to keep each segment brief and to the point.
- Use multiple camera angles where possible to make editing easier later. If you don’t have multiple cameras, re-shoot sections from different angles (wide, medium, close-up).
3.2 Batch Film
- If you’re making multiple videos or recipes, batch film your videos. This means recording the process for several recipes in one shoot—saving time on setup and equipment adjustments.
3.3 Record Voiceovers or Real-Time Commentary
- Decide whether to do real-time commentary while cooking or record voiceovers later.
- If doing voiceovers, focus on capturing clear, high-quality audio separately from your video footage.
3.4 Stay Focused and Calm
- Filming can be stressful, so remember to take breaks and stay calm. Don’t worry if you make mistakes—you can fix them during editing.
Step 4: Post-Production Workflow
After the filming is complete, organize your files and begin editing:
4.1 Organize Your Footage
- Label and store your footage by categories: A-roll (main footage), B-roll, and audio files. Organizing your files will make editing quicker.
4.2 Edit in Batches
- Start by laying down the A-roll footage first (the main cooking process).
- Add in B-roll shots, such as close-ups of ingredients or finished dishes, to make the video more dynamic.
- Cut unnecessary footage to keep the video concise and engaging.
4.3 Add Voiceovers or Subtitles
- If you chose to record voiceovers, add them in during editing.
- Consider adding subtitles for viewers who may watch on mute or in noisy environments.
Final Thoughts
By planning ahead, prepping your space, and following a structured shooting schedule, you’ll be able to create more professional cooking videos with less stress. Remember, the key to a successful workflow is organization—both before and during filming. This not only improves the quality of your videos but also makes the entire process more enjoyable.
Happy filming!

